You can join in this Hexalong at any time and use the templates I am using or just do your own hexagons. The starter post for the HAL is here. Share anything you make in the Lily's Quilts Flickr Group.
I will start with how to draw templates for curved seams and you will need a compass for this, the kind you can find in a child's geometry set.
1. I start each new hexagon template by marking on the corners of the hexagon on the incompetech paper and marking all points within the hexagon three triangles apart.
2. As a starter you can set your compass to three triangles' length, giving tighter curves, or six triangles' length, giving gentler curves. You can of course also set the compass to different lengths and see where that takes you but the 3 triangles and 6 triangles lengths make nice neat patterns within the hexagon.
3. Place the point of the compass on any of the dots you have drawn on the hexagon (all the dots three triangles apart) and try drawing arcs connecting other dots in the hexagon to see what patterns you come up with. Try this with the compass set to both 3 triangles and 6 triangles length.
4. Keep drawing and erasing parts of your drawing, mixing in some straight lines and see what you end up with.
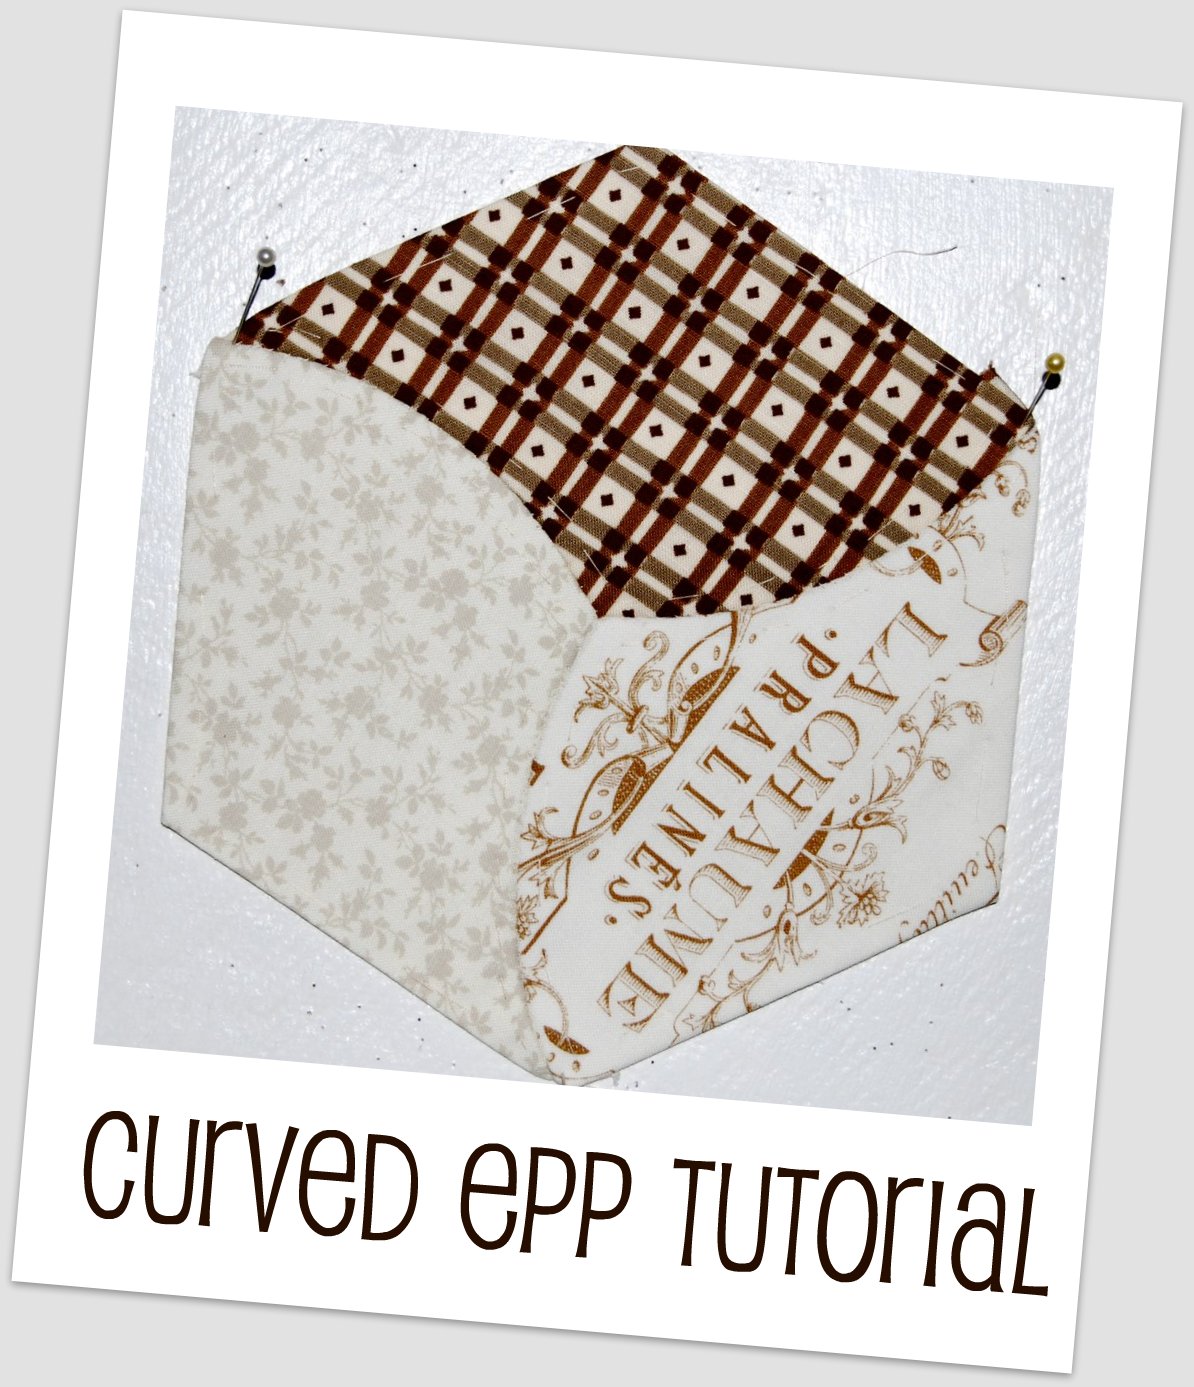
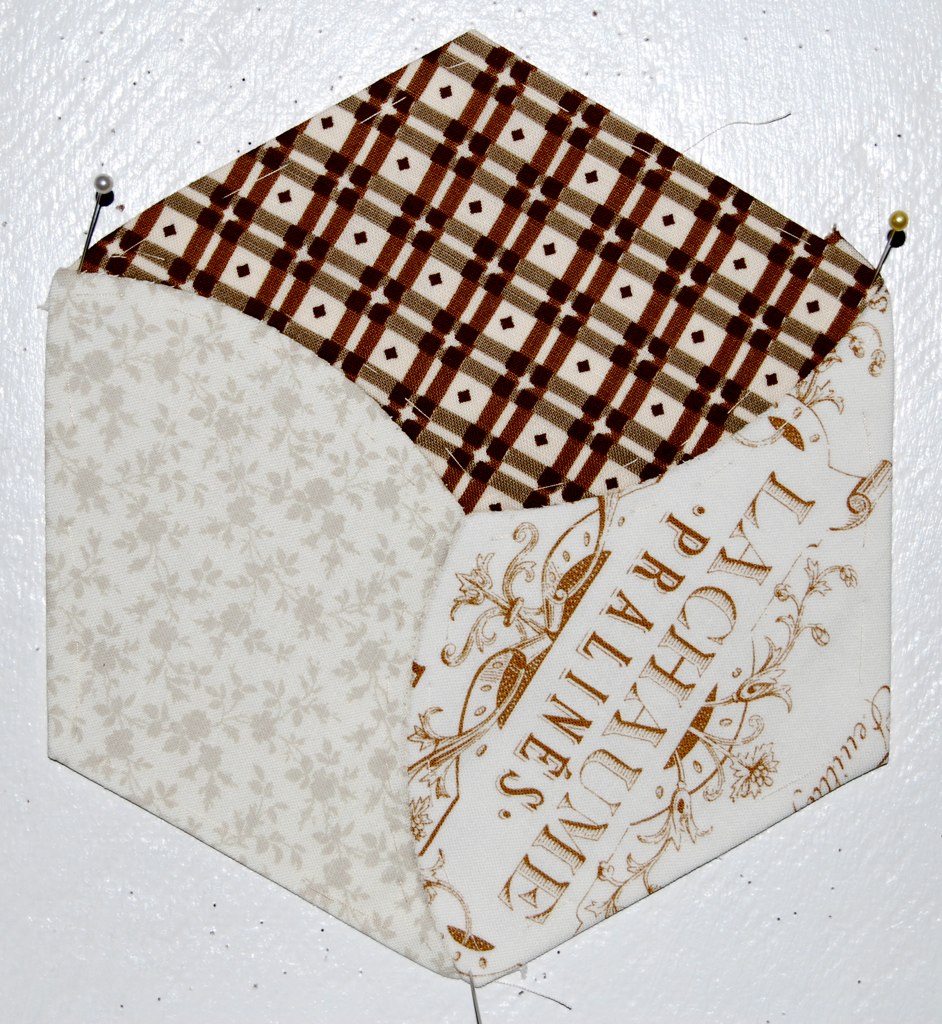
5. For the purposes of this tutorial, I have drawn three 6 triangles length arcs from the centre to three of the outside corners of the hexagon to make a curved tumbling block.
6. When you cut the fabric out around the template shape, clip the curved edges which means you cut into the seams about three or four times with a cut that ends about 1/8" from the template edge. I have slotted pins through the clips here so you can see where I've clipped.
7. Baste as for a normal template but use much shorter basting stitches along the curved edges, constantly pulling the fabric with the needle to hub the template edge.
8. Lay out all the section face down and mark meeting points along the two seams (ignore the fact that there are other designs on the back of my templates!). I marked these points with a FRIXION Pilot pen - the marks disappear when ironed. Sorry about the bad pics today - I was lazy and took them all with my iphone and they don't do close up as well as a better camera.
9. Sew the curved seams in exactly the same way as you whipstitched straight EPP seams only line up the edges for the actual stitch you are doing. So sew a stitch, pull the thread tight then line up the edges for the next stitch. Sew the next stitch, pull the thread tight and then line up the edges for the next stitch. As you sew along the seam, watch that your marked points are meeting and adjust if they are not.
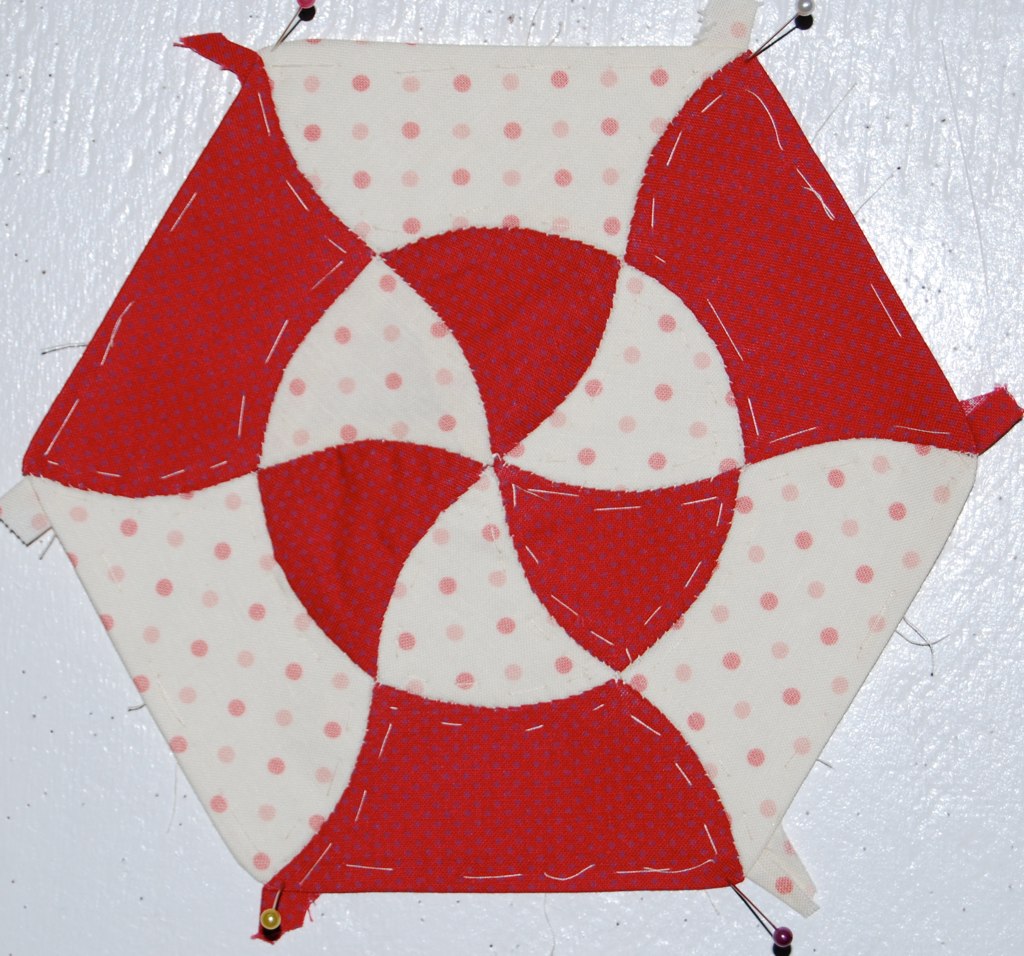
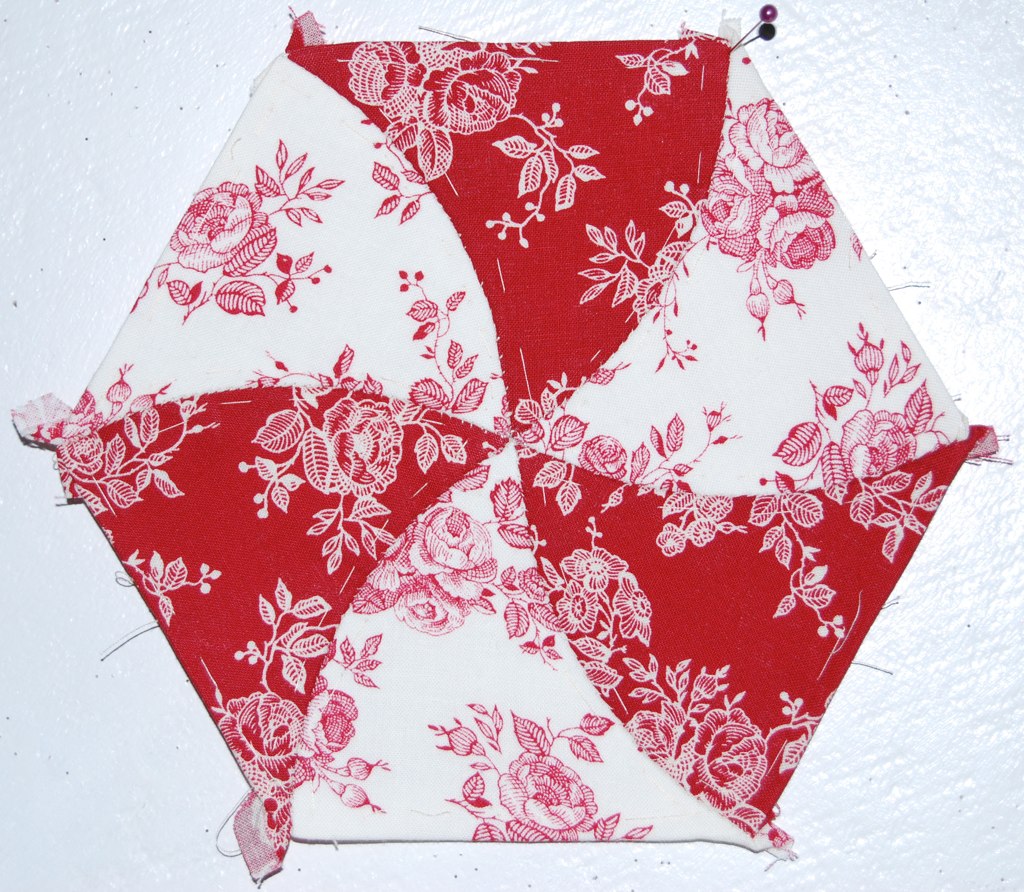
10. Voila, you have a curved seam EPP hexagon. I would love to see photos if any of you try this - and please do ask questions if you get stuck or if something in this post is not quite clear. These two blocks were also made using the same curved seam technique.
I will start with how to draw templates for curved seams and you will need a compass for this, the kind you can find in a child's geometry set.
1. I start each new hexagon template by marking on the corners of the hexagon on the incompetech paper and marking all points within the hexagon three triangles apart.
2. As a starter you can set your compass to three triangles' length, giving tighter curves, or six triangles' length, giving gentler curves. You can of course also set the compass to different lengths and see where that takes you but the 3 triangles and 6 triangles lengths make nice neat patterns within the hexagon.
4. Keep drawing and erasing parts of your drawing, mixing in some straight lines and see what you end up with.
5. For the purposes of this tutorial, I have drawn three 6 triangles length arcs from the centre to three of the outside corners of the hexagon to make a curved tumbling block.
6. When you cut the fabric out around the template shape, clip the curved edges which means you cut into the seams about three or four times with a cut that ends about 1/8" from the template edge. I have slotted pins through the clips here so you can see where I've clipped.
7. Baste as for a normal template but use much shorter basting stitches along the curved edges, constantly pulling the fabric with the needle to hub the template edge.
8. Lay out all the section face down and mark meeting points along the two seams (ignore the fact that there are other designs on the back of my templates!). I marked these points with a FRIXION Pilot pen - the marks disappear when ironed. Sorry about the bad pics today - I was lazy and took them all with my iphone and they don't do close up as well as a better camera.
9. Sew the curved seams in exactly the same way as you whipstitched straight EPP seams only line up the edges for the actual stitch you are doing. So sew a stitch, pull the thread tight then line up the edges for the next stitch. Sew the next stitch, pull the thread tight and then line up the edges for the next stitch. As you sew along the seam, watch that your marked points are meeting and adjust if they are not.
10. Voila, you have a curved seam EPP hexagon. I would love to see photos if any of you try this - and please do ask questions if you get stuck or if something in this post is not quite clear. These two blocks were also made using the same curved seam technique.


In all my years of viewing hexagon quilts, this is the first I've seen a curved interior. I really like it! Thanks for the tutorial.
ReplyDeleteWhoa! You are really broken this down into manageable pieces.
ReplyDeleteLynne! These are wonderful! Can't wait to try this!
ReplyDeleteLynne, I have got to hurry and finish my other EPP project so I can make these. They are Amazing! Gorgeous! Ingenious! Thanks for sharing how to make our own.
ReplyDeletecan't wait to give these a go!
ReplyDeleteYou rock! Thank you for a great blog : )
ReplyDeleteWow I really love your curved hexies, thank you for a great tutorial!
ReplyDeleteThese are all gorgeous. The middle, swirly one made me feel a little drunk to look at it!
ReplyDeleteWow, this is great -- must try!!
ReplyDeleteThe blocks are amazing. and I think even I might be able to do it. Where did you get the graph paper that you are using (if you posted that earlier, I apologize for asking).
ReplyDeleteI'm in quilt inspiration overload! These curvy hexies are adorable. Although I can't participate in the hexalong right now, it's so much fun following along.
ReplyDeleteYou have great talent - it's a joy to keep seeing all this stuff - will def give this a try.
ReplyDeleteGreat tutorial Lynne, nice clear instructions!
ReplyDeleteWow, the ideas just keep coming...amazing.
ReplyDeleteWOW going to print this out and give this a go!
ReplyDeleteFi
It's brilliant, like a floral quilted camera lens
ReplyDeleteAck, more math! You're brilliant. We're going to have to grant you a maths PhD. Dr. Lily Quilts.
ReplyDeleteJust getting ready to dive into the Hexalong- problem is you keep distracting me with your fab ideas and I cant make my mind up which direction to go. I think I will make a Pinterest board with the ideas so far from you and all the linked websites. Thanks for waking Mr Mojo up - I am dreaming hexagons. Linda
ReplyDeleteI love the curved seams, they give the hexagons a totally new look.
ReplyDeleteThank you so much for sharing the instructions.
Thank you for this post - I love the curves and definitely want to try this to add to my hexagons - I'm enjoying the hex-a-long :)
ReplyDeleteLynne, you are a marvel. Thank you for this!
ReplyDeleteThis is amazing Lily! Can't wait to try it! Too many projects right now- I have only peiced two of my regular hexies so far!!
ReplyDeleteLynne I love these, but must admit that I'm copping out of the Hexialong at the moment and sticking to my promise of finishing some of my UFO's this year - so it's on the back burner for now ;0/
ReplyDeleteGreat post Lynne. I can't wait to give it a go. It still seems tricky to me -- bending the paper templates to match the curves as you stitch along -- but your instructions seem very manageable. The swirly circle is so cool.
ReplyDeleteWhat a great tutorial! Thanks for sharing :) I'm so impressed and inspired to make some hexies.
ReplyDeleteI an so in love with your hexigons!!
ReplyDeleteWow. This is simply amazing!
ReplyDelete