
Back in November, a long time ago, I was lucky to have been chosen by Lynne to come up with a tutorial using Akaban supplies, as part of the Abakhan projects on a budget series.
I had in mind a set of gift bags that are easy to make, and are versatile enough to be used for any occasion. I made two different types of bags or wraps: The first a traditional bag shape, with an oversize lip that is reminiscent of a money bag. This type of bag uses a long rectangle of fabric with a wide seam allowance of top and a drawstring closure.

The second type is more of a wrap and I use it very often to wrap cookies, brownies and such. I even have one I often use to wrap snacks for a picnic or to pack in the kid´s bags. It is a Japanese type bag, that I learned about a few years ago, but cannot remember at all what it is called or its proper origin. It is also made up of a rectangle of fabric, any size, but always with the same proportions: The length is three times the width of the rectangle. What I like to do, and differs from the original, is to add ribbon to aid in closing up the wrap and to contribute to its final gift-wrapping look.
First up: The “money bag” gift bag:
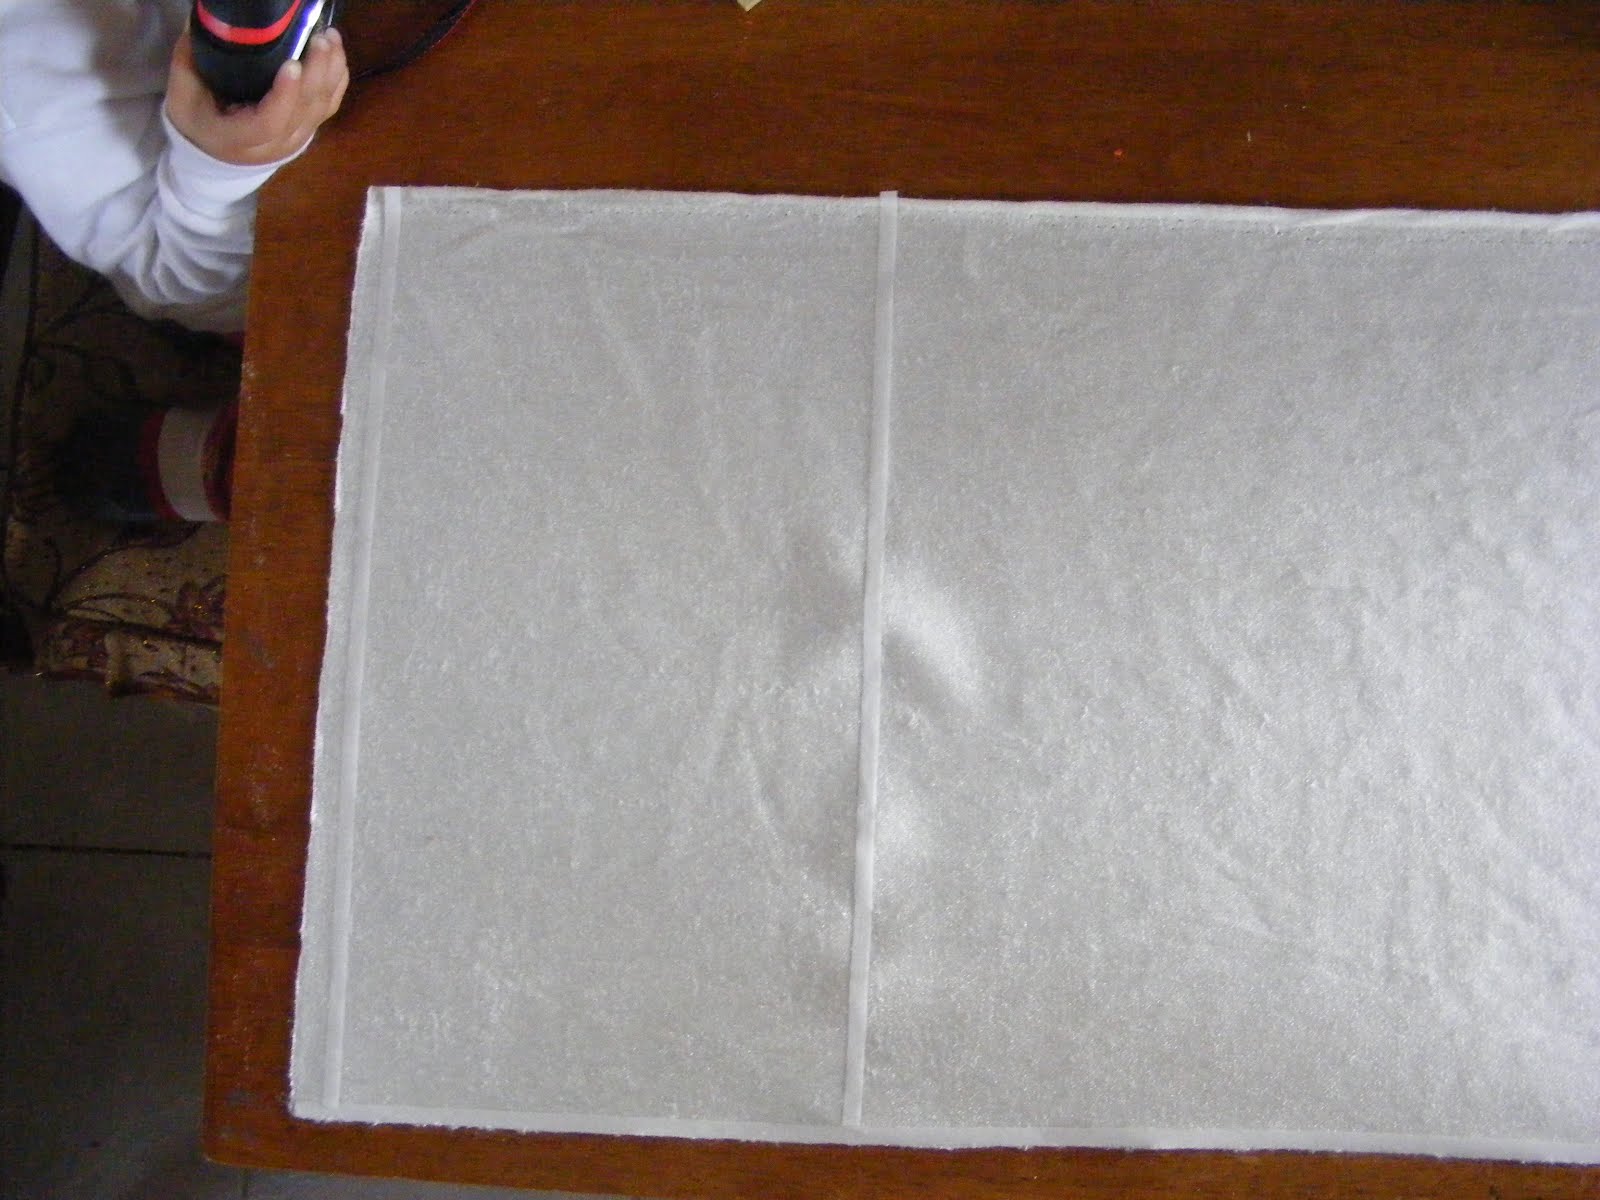
For this project I used a poly velour and coordinating velvet ribbon. I think it makes the bag look like it contains some kind of luxurious goodie inside. The velvet I worked with had a beautiful sheen, and it had stretch in both directions so it was tricky to accurately cut, but in the end it looked OK, as the cinching of the bag top helps hide any wonkiness. I made a second version using steam a seam to stabilize the seams and aid in cutting and sewing.
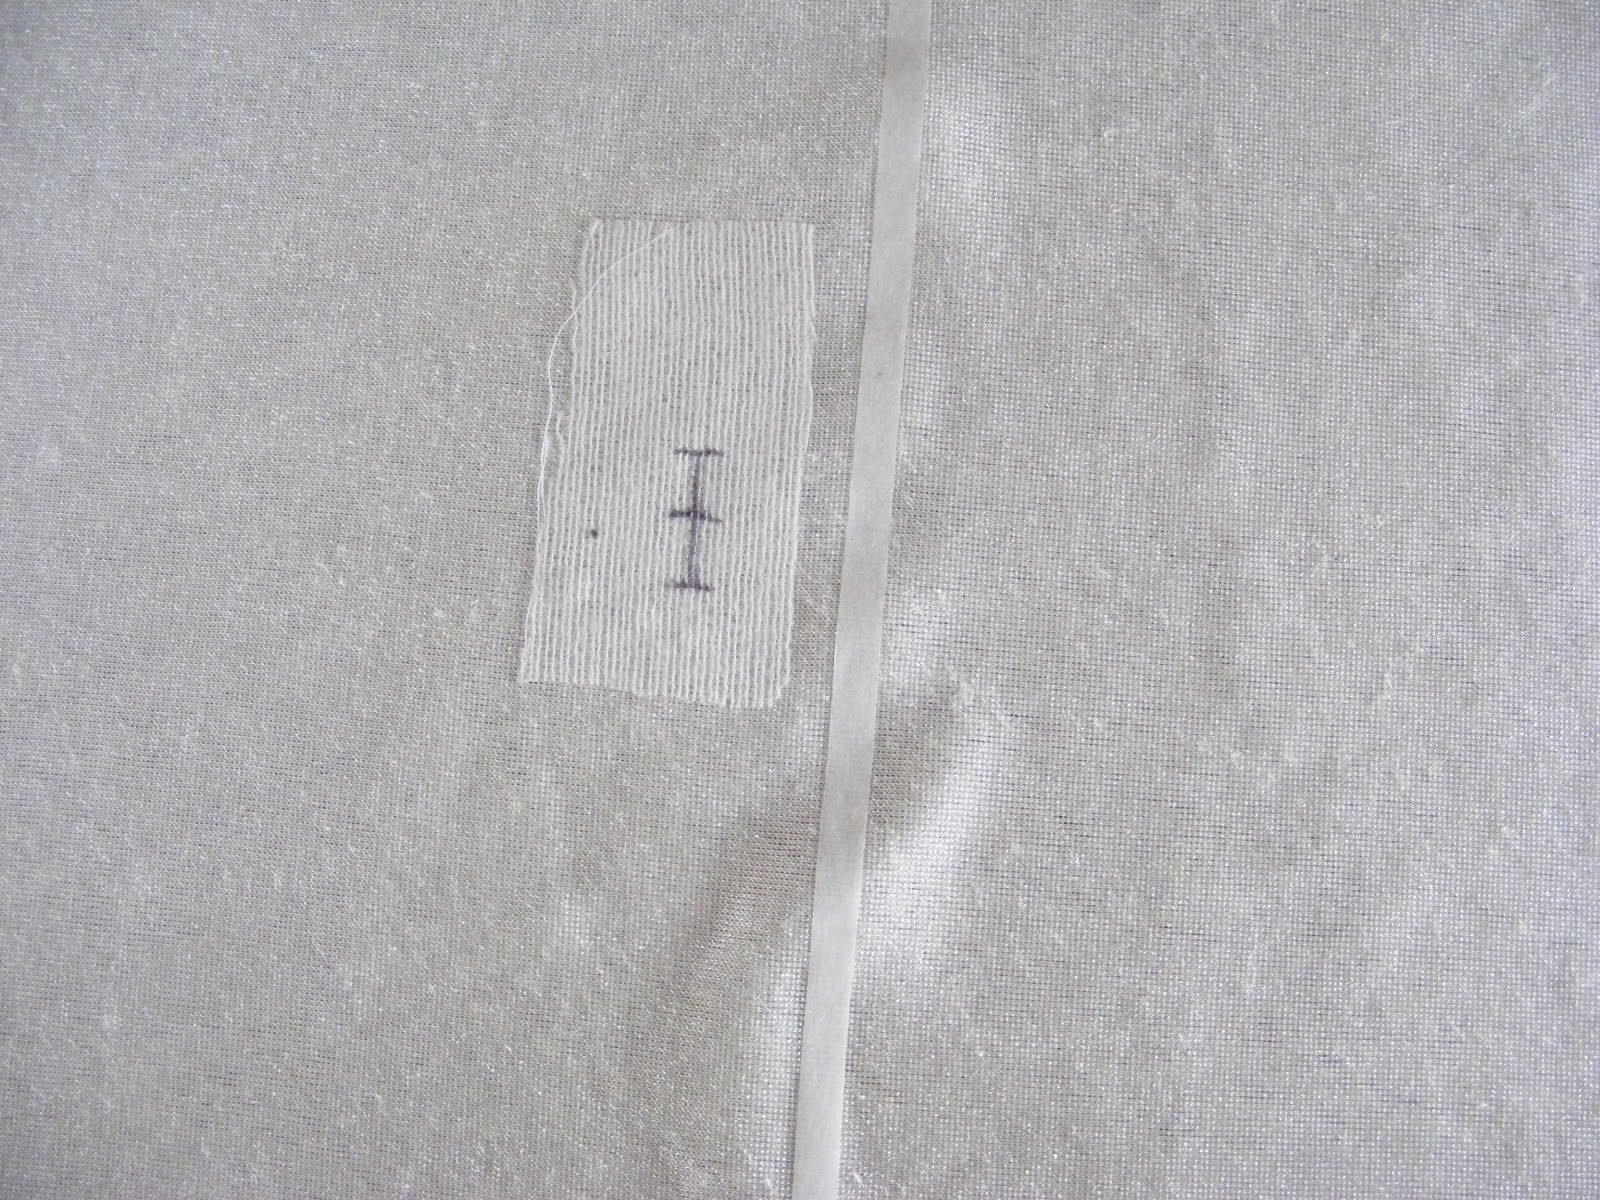
To make, cut a long rectangle. On one short end measure about 8 in down (or double the width of the intended lip) and mark the center (I also used steam a seam to mark and stabilize this seam; if you are using a wobbly fabric, like this stretchy velvet, stabilize this area with a small square of interfacing, like I did here. Make a buttonhole on the mark, about ¾ in long (enough to thread your ribbon through) and open it up carefully with a seam ripper or sharp small scissors.
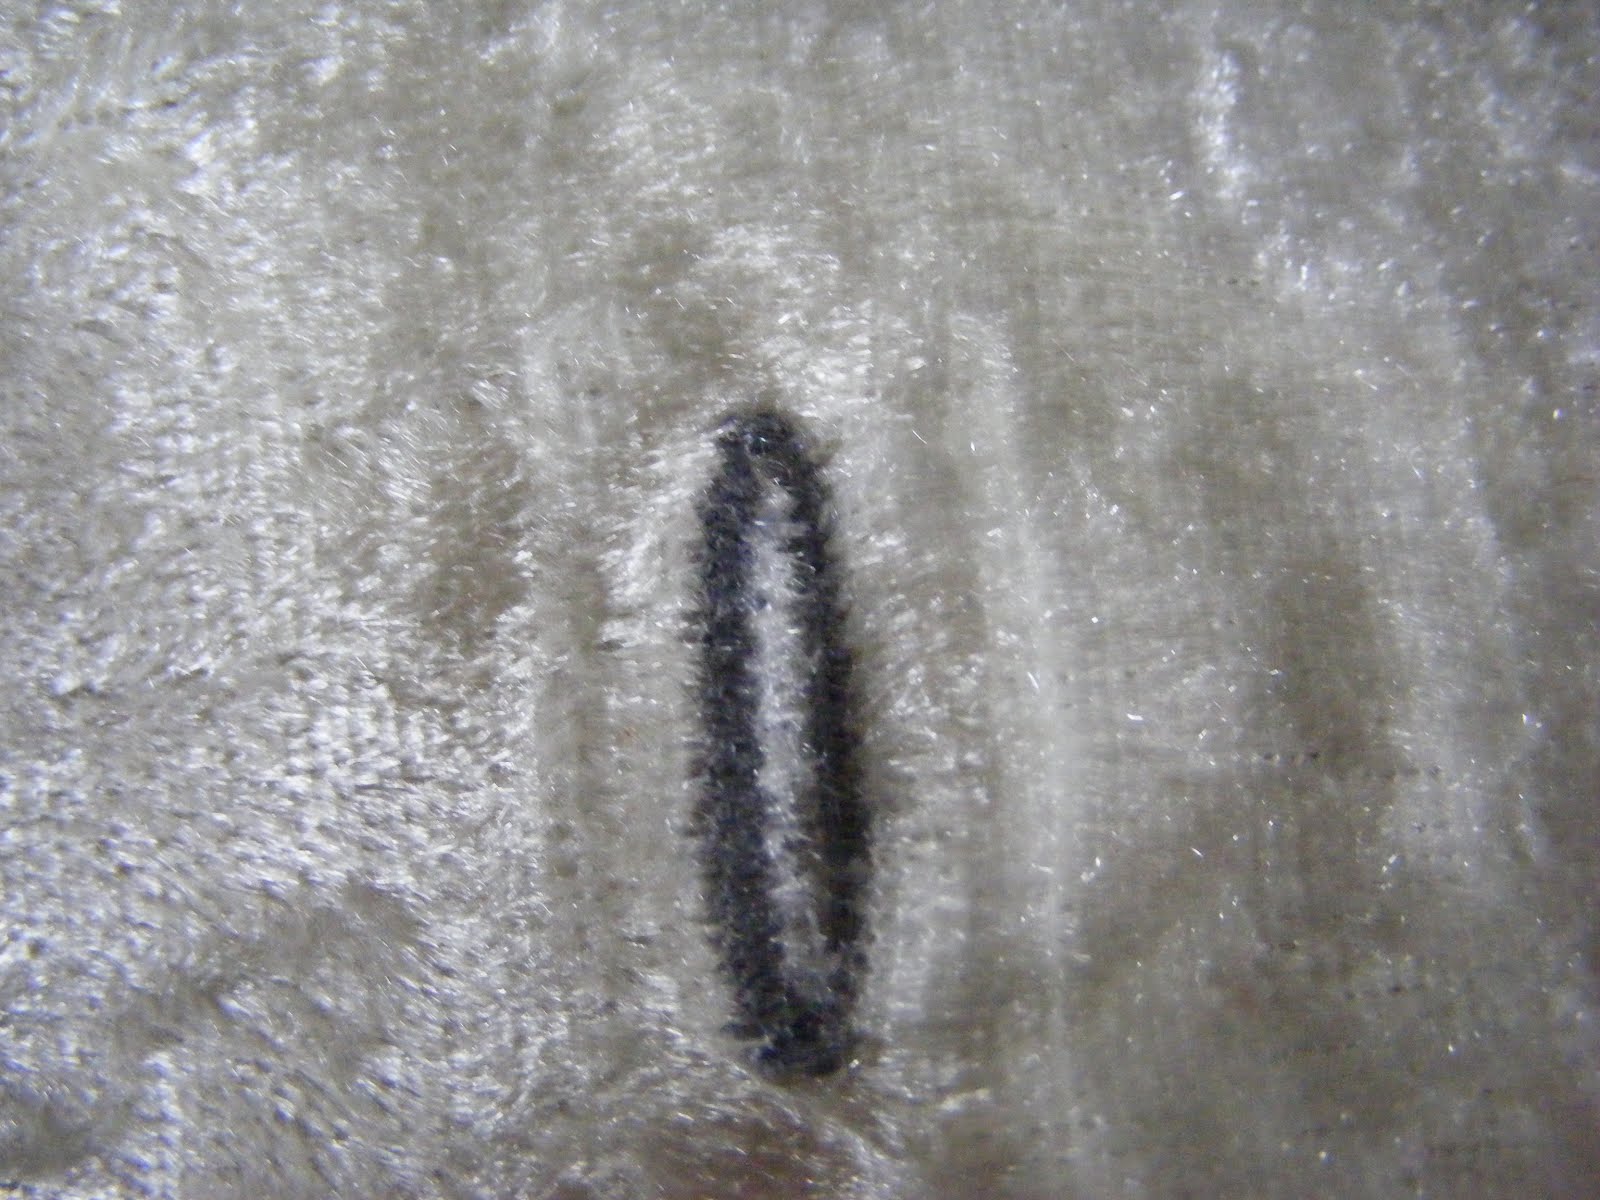
Finished buttonhole on the right side:
Fold the fabric rectangle in half right sides together, and sew the two side sides together; you may finish the seams as you wish (zigzag, pinking shears, leave them raw). Fold the top of the bag ¼ in and then again about 4 in. This will make the wide lip. Sew two lines of stitching one on the ¼ in fold and another about 1 ½ in above, ensuring your buttonhole is roughly at the center of these two lines.
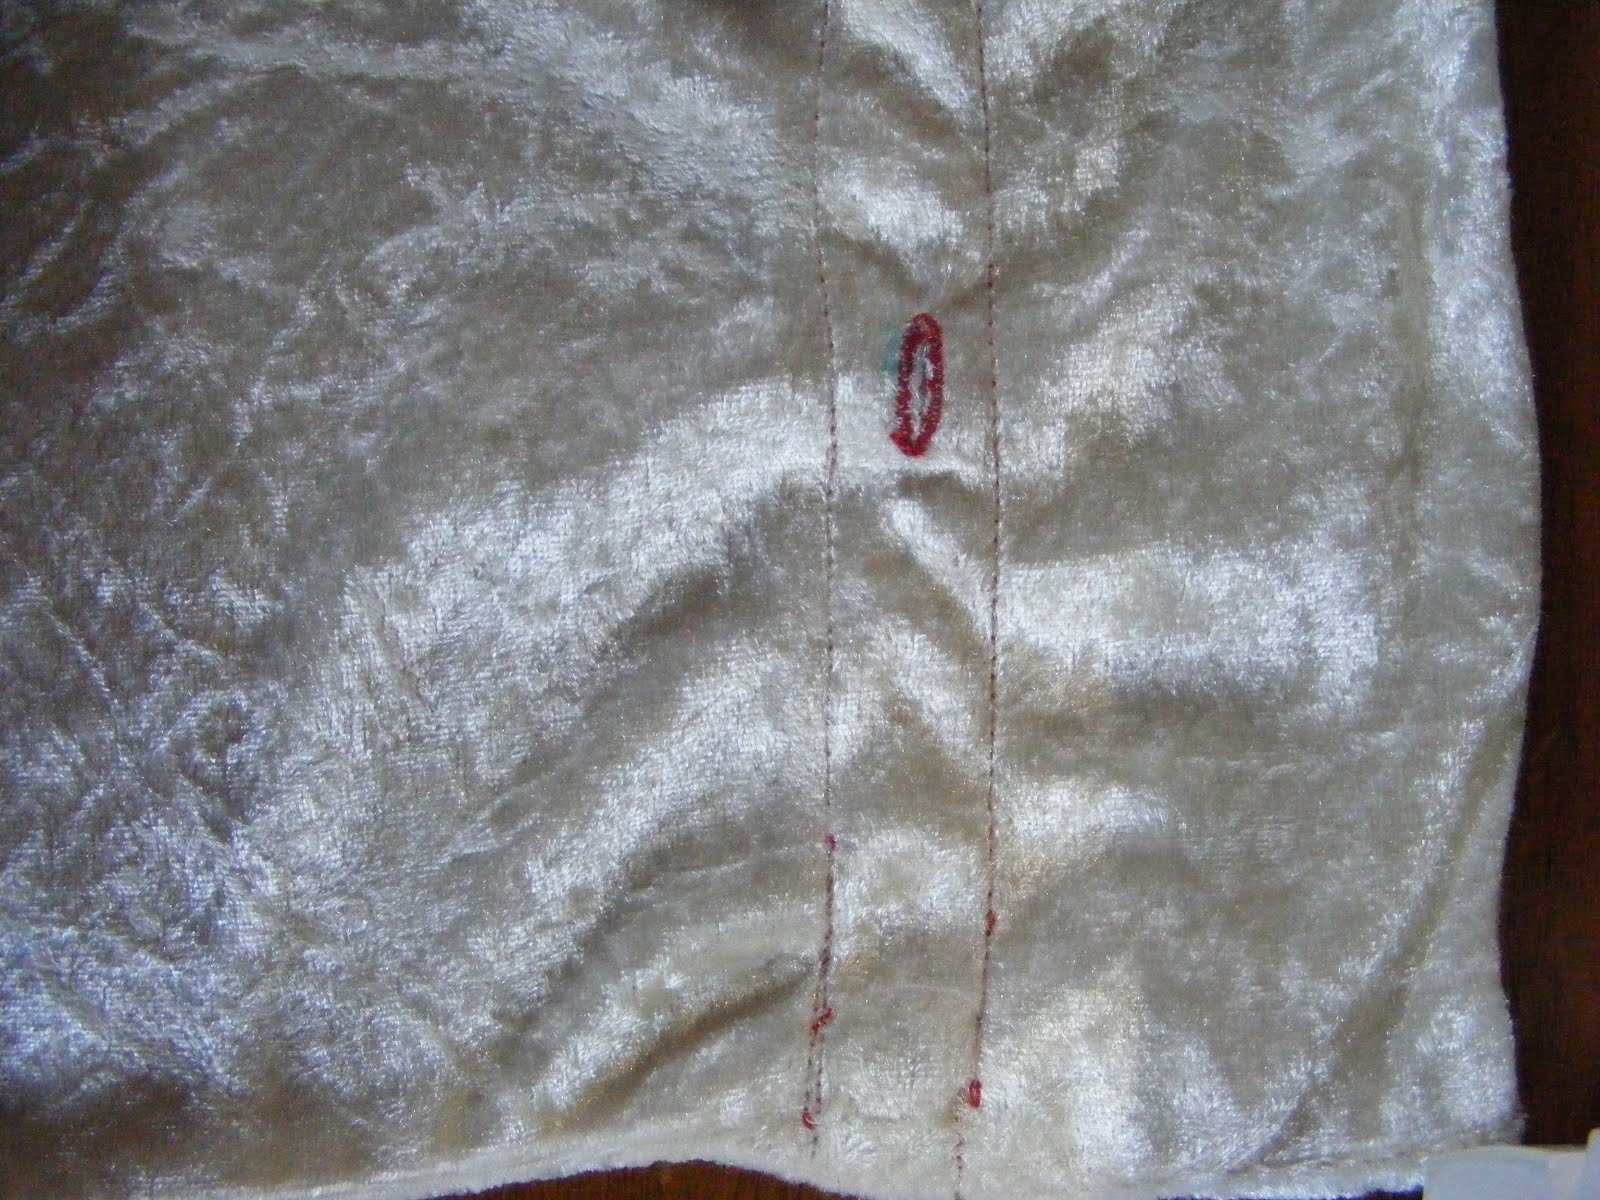
(I am showing pictures of the two bags I made, hence the thread color changes you notice)
Flip your bag right side out, poke corners out with a chopstick and thread your ribbon through the case with a safety pin or a specialized tool. I like to stitch the ribbon in place at back of the casing, roughly opposite where the buttonhole is located, so that one does not accidentally remove the ribbon from the casing and need to re-thread it, but this step is not essential. Fill up your gift bag, cinch the bag, tie the ribbon into a bow and fluff up the lip for a puffy look.

Secondly: The Japanese inspired gift bag:
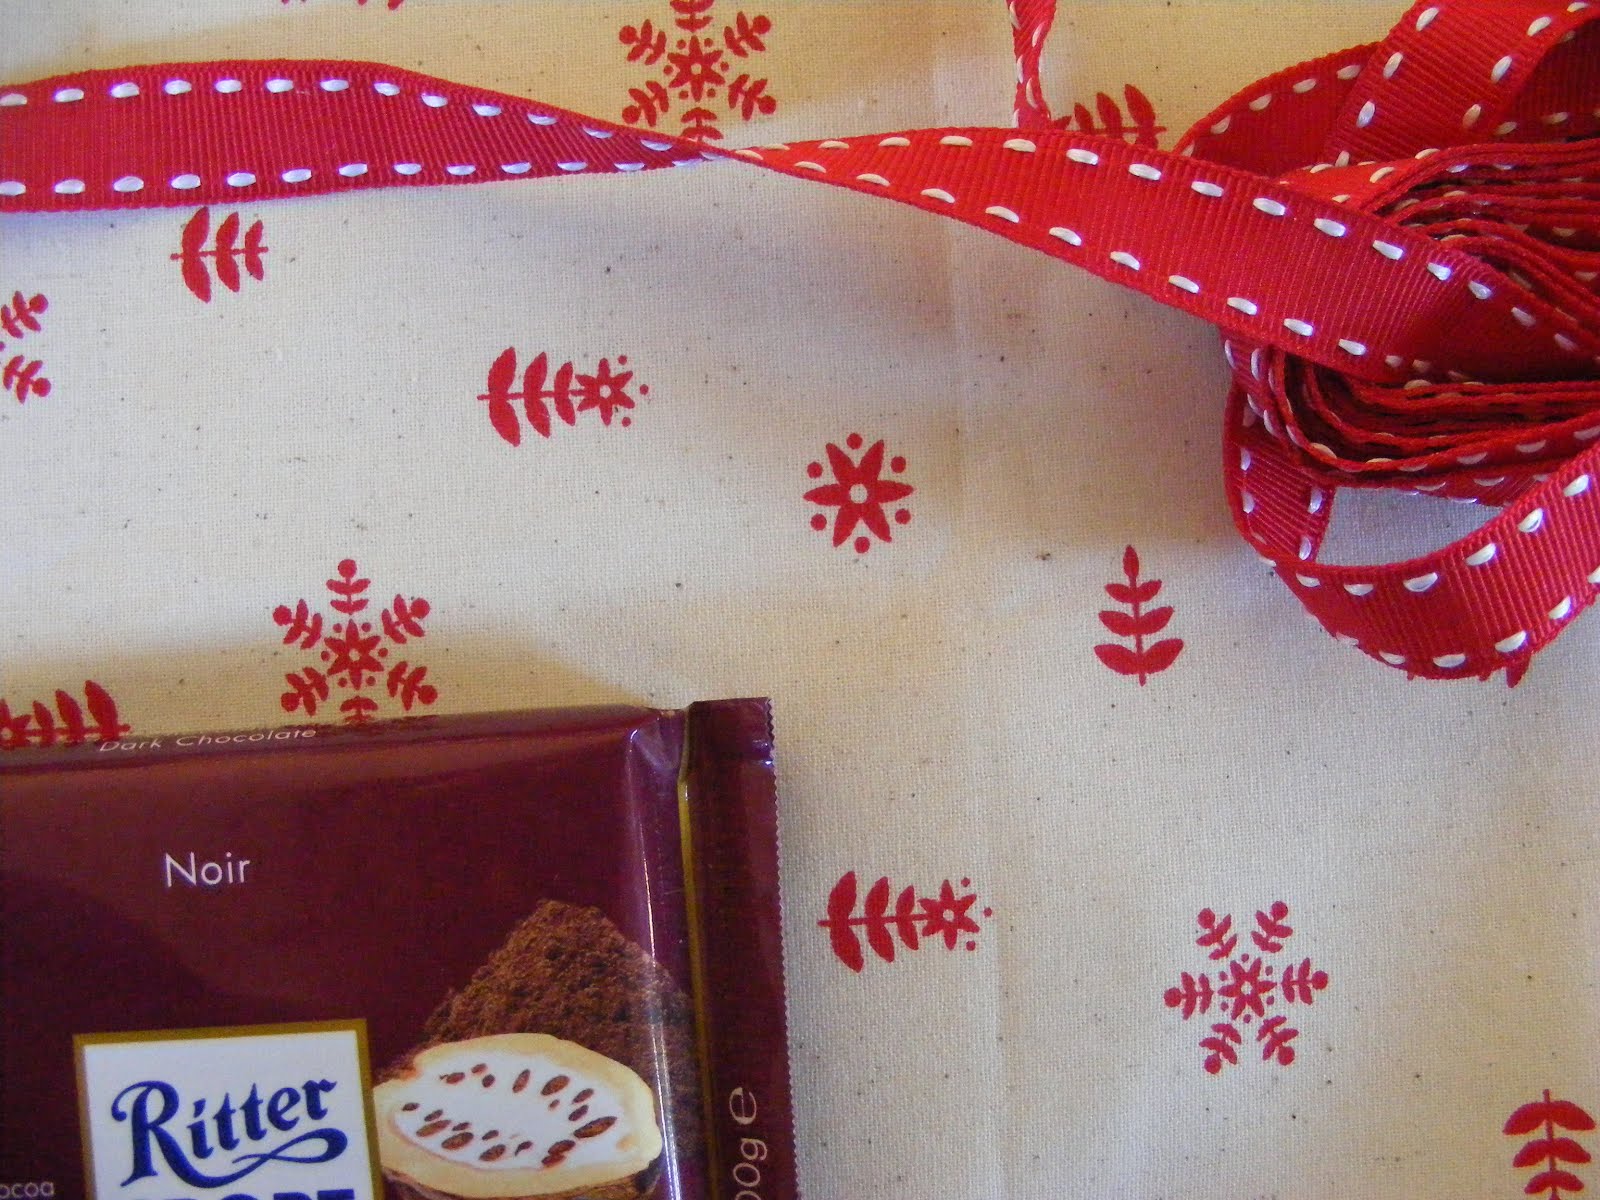
For this project I used a beautiful 100% cotton fabric and red and white grosgrain ribbon from Abakhan. This type of bag is particularly suited to wrap something flat, like a book or chocolate bar.
For this project I used a beautiful 100% cotton fabric and red and white grosgrain ribbon from Abakhan. This type of bag is particularly suited to wrap something flat, like a book or chocolate bar.
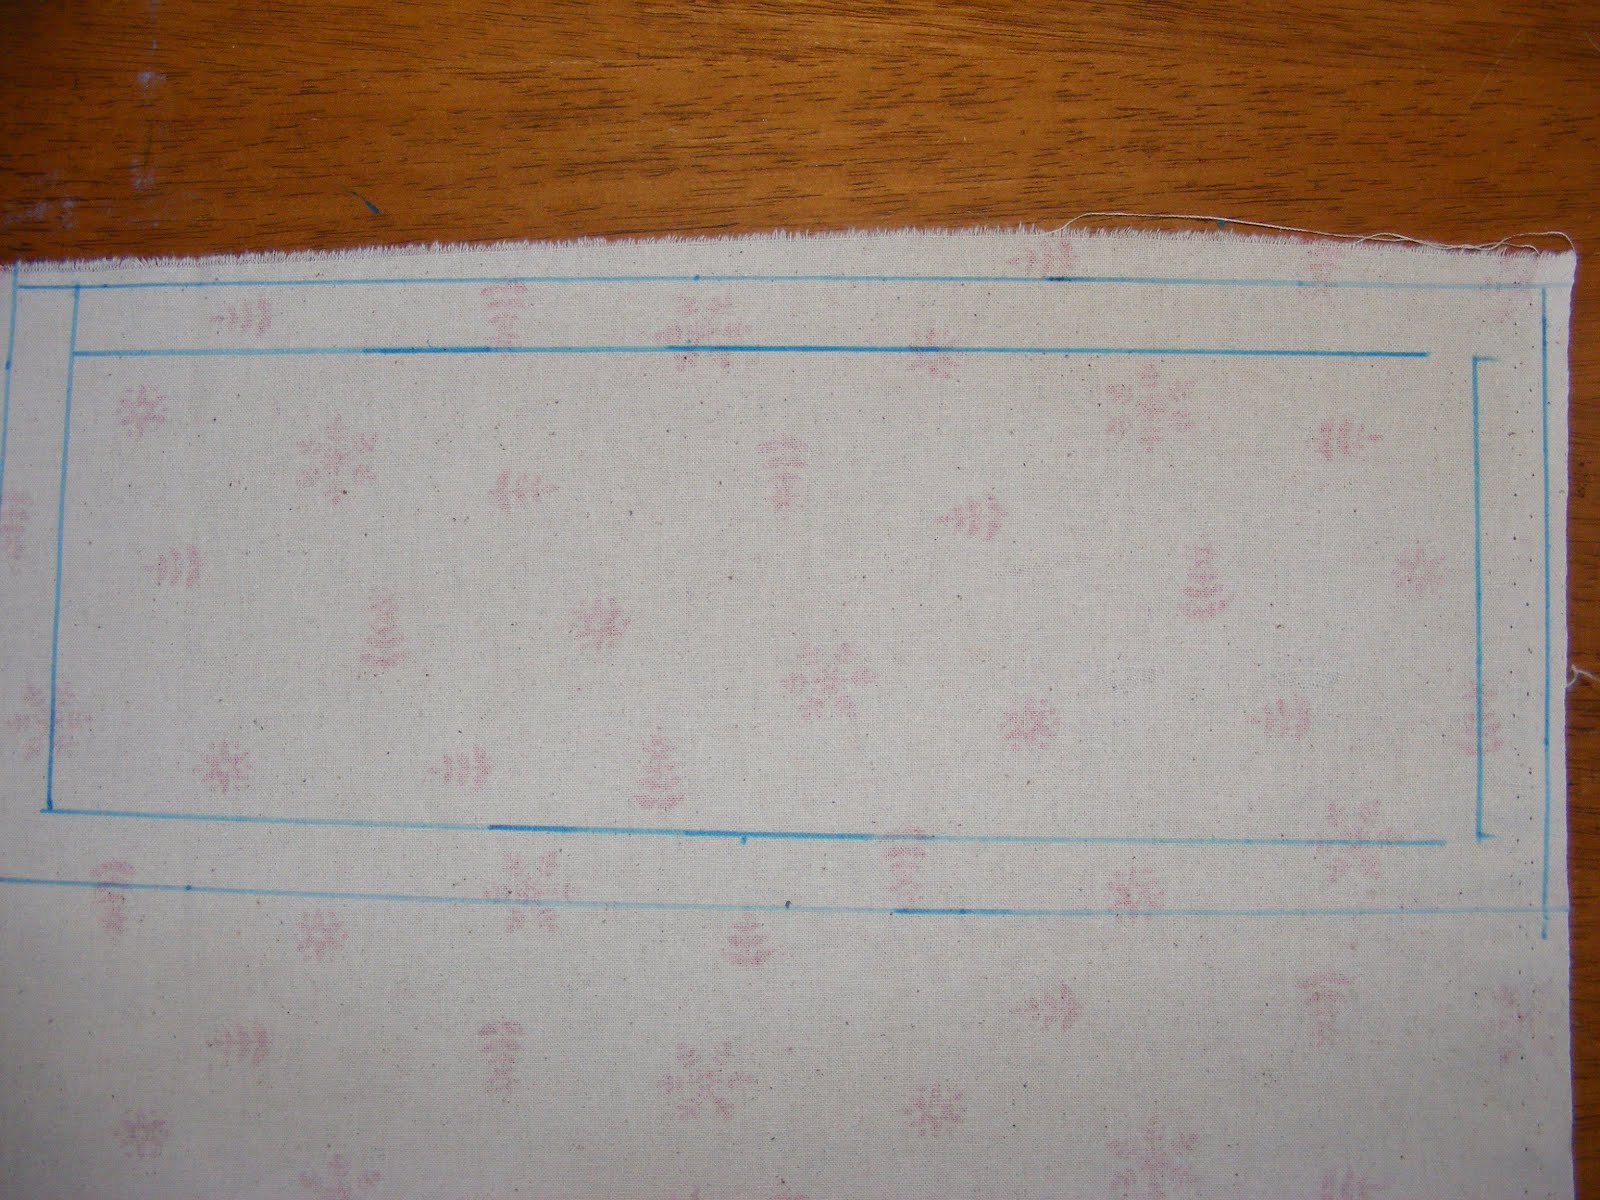
A rectangle is drawn on the fabric, any size as long as the length is three time the width: For example 5 inches wide by 15 inches long. I made a small one first, 10 cm by 30 cm (about 4 by 12 inches) that is big enough for a small treat. I have made bigger ones to wrap brownies as gifts (first wrapped in parchment paper).
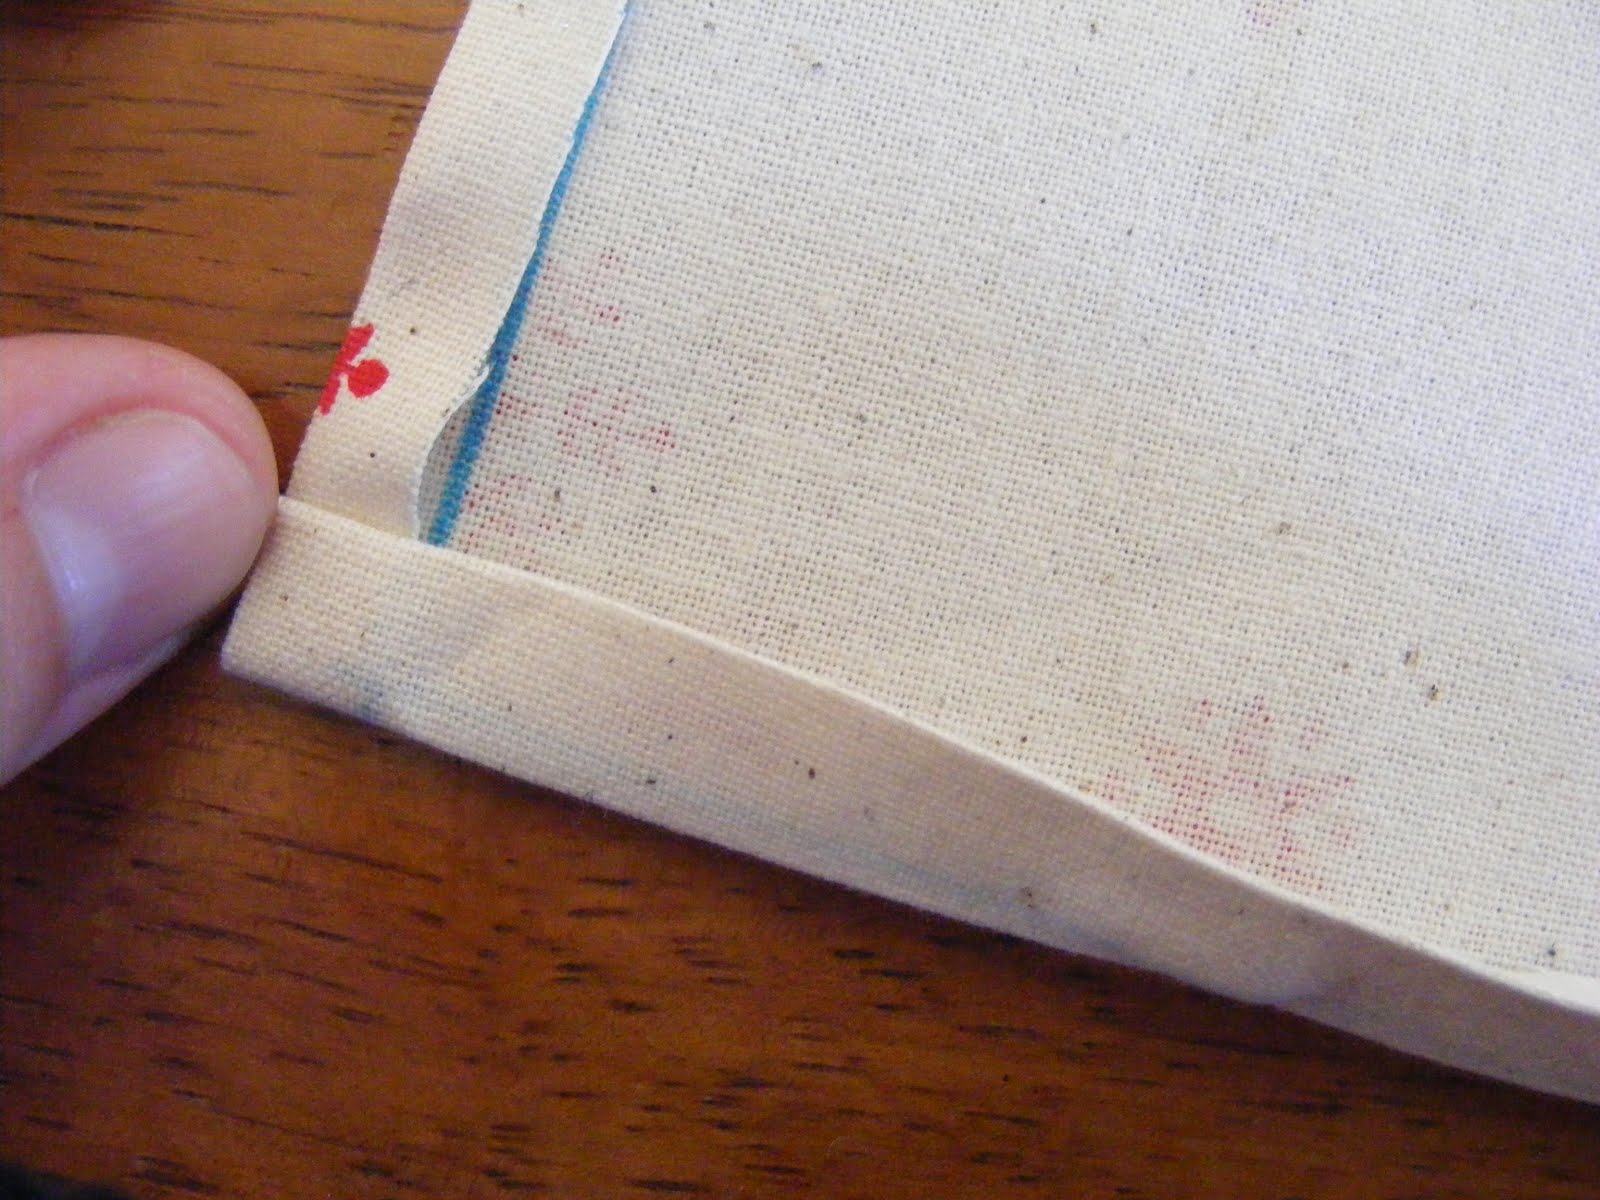
I like to do a double fold, ¼ in followed by another ¼ in that results into tidy-looking seams, but you could get away with a single ¼ turn and could leave the seam edge raw or use zigzag to sew all around the rectangle instead.
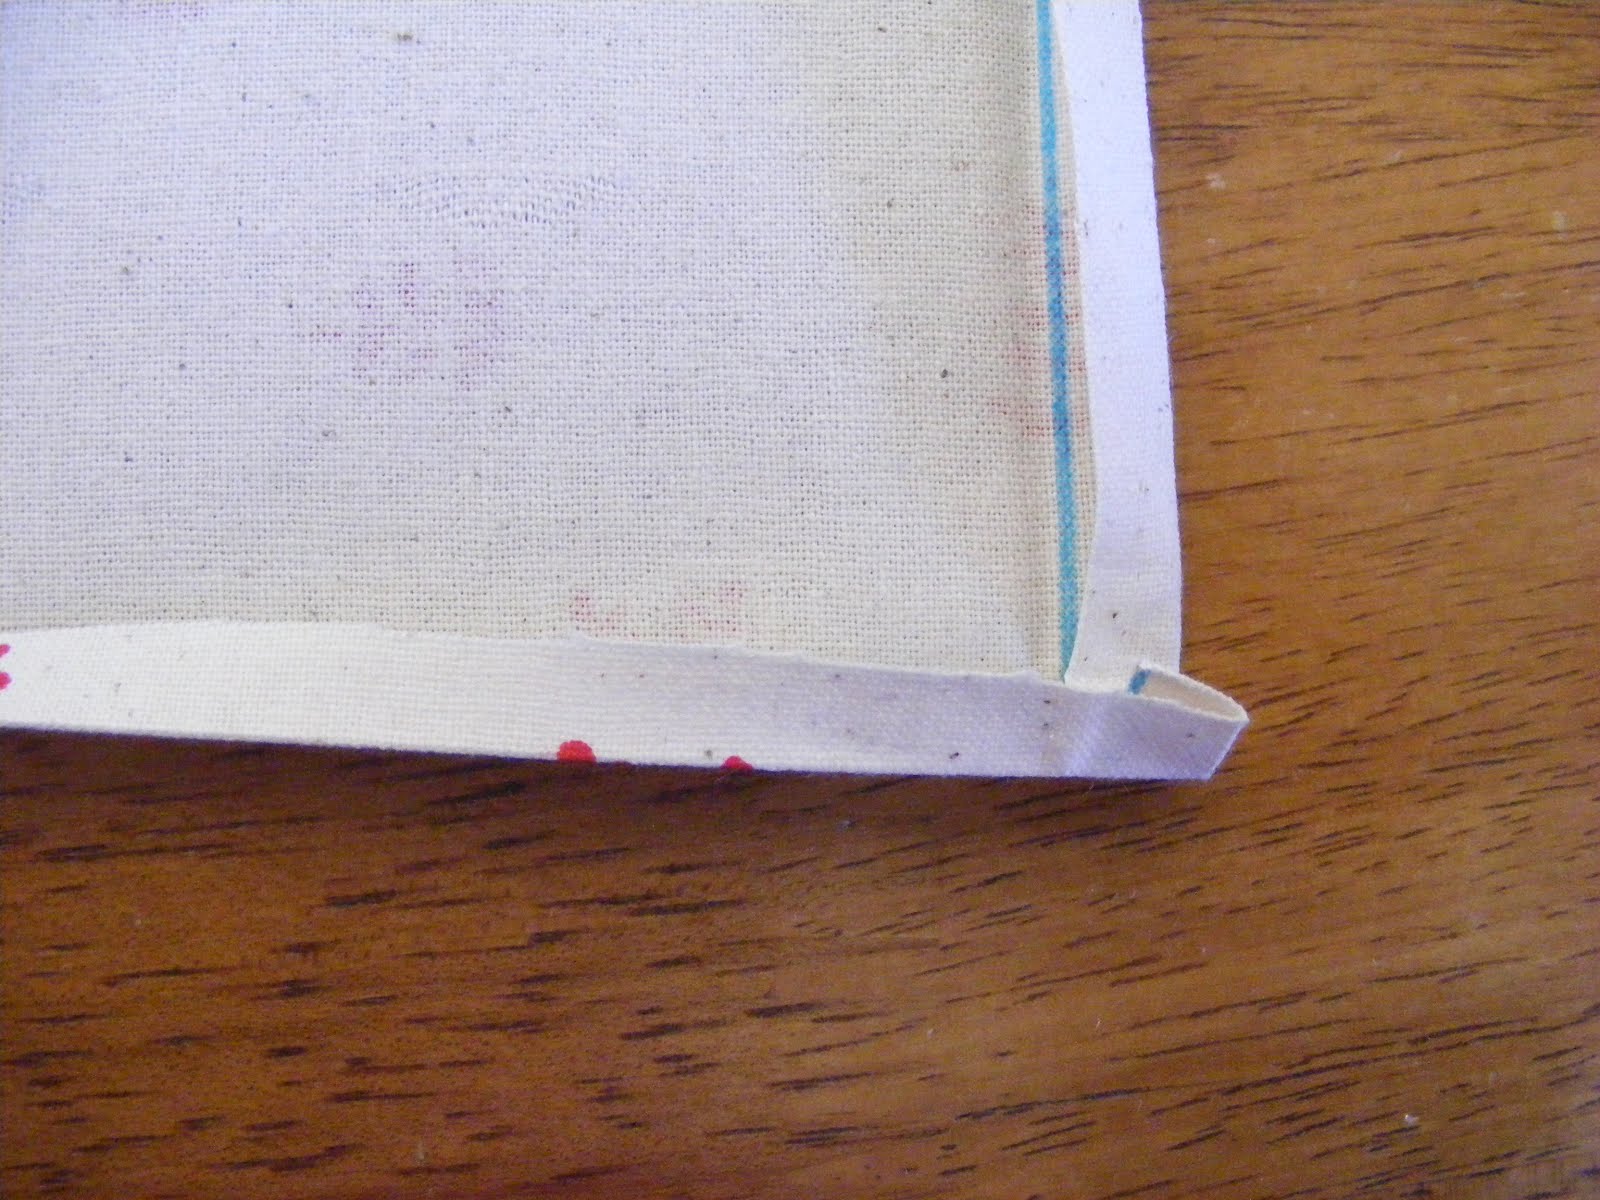
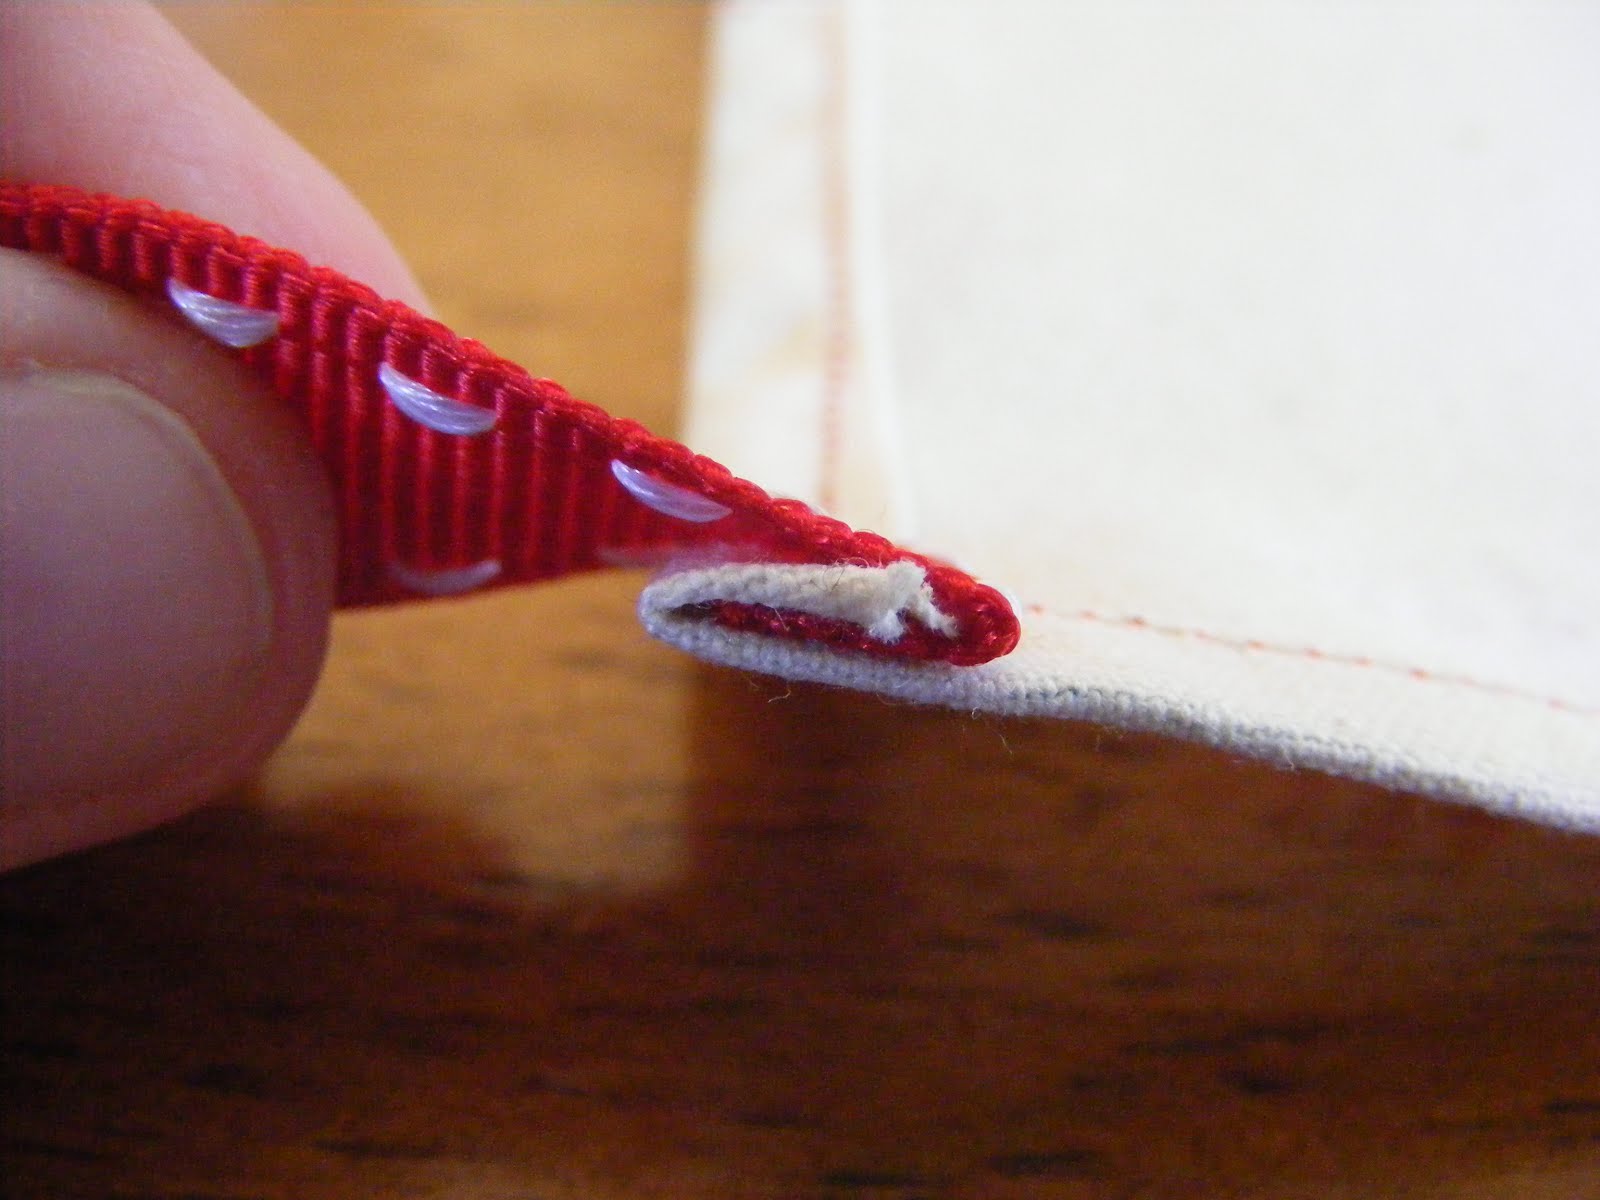
On two diagonally opposite corners I sew a ribbon length, tucked into the seam:
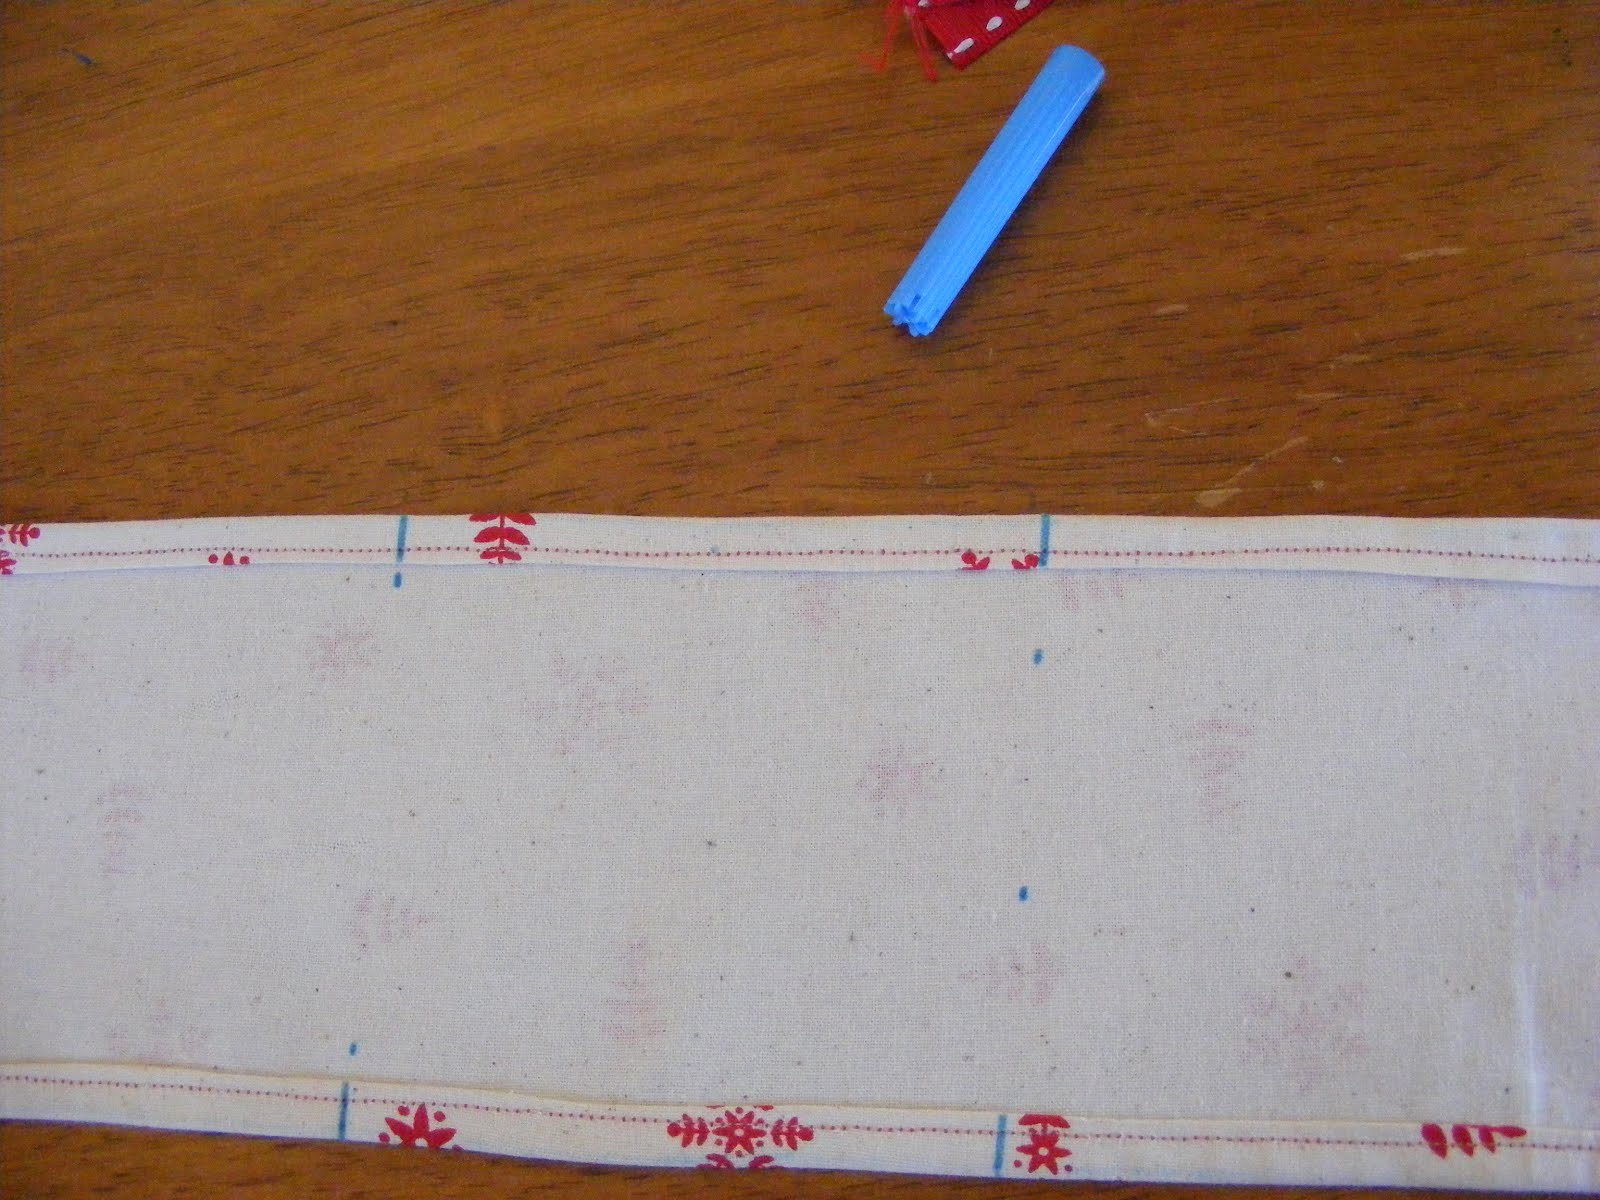
It should look like this when all four sides are hemmed and the ribbon lengths are sewn in:

Divide and mark the rectangle of fabric in thirds lengthwise:
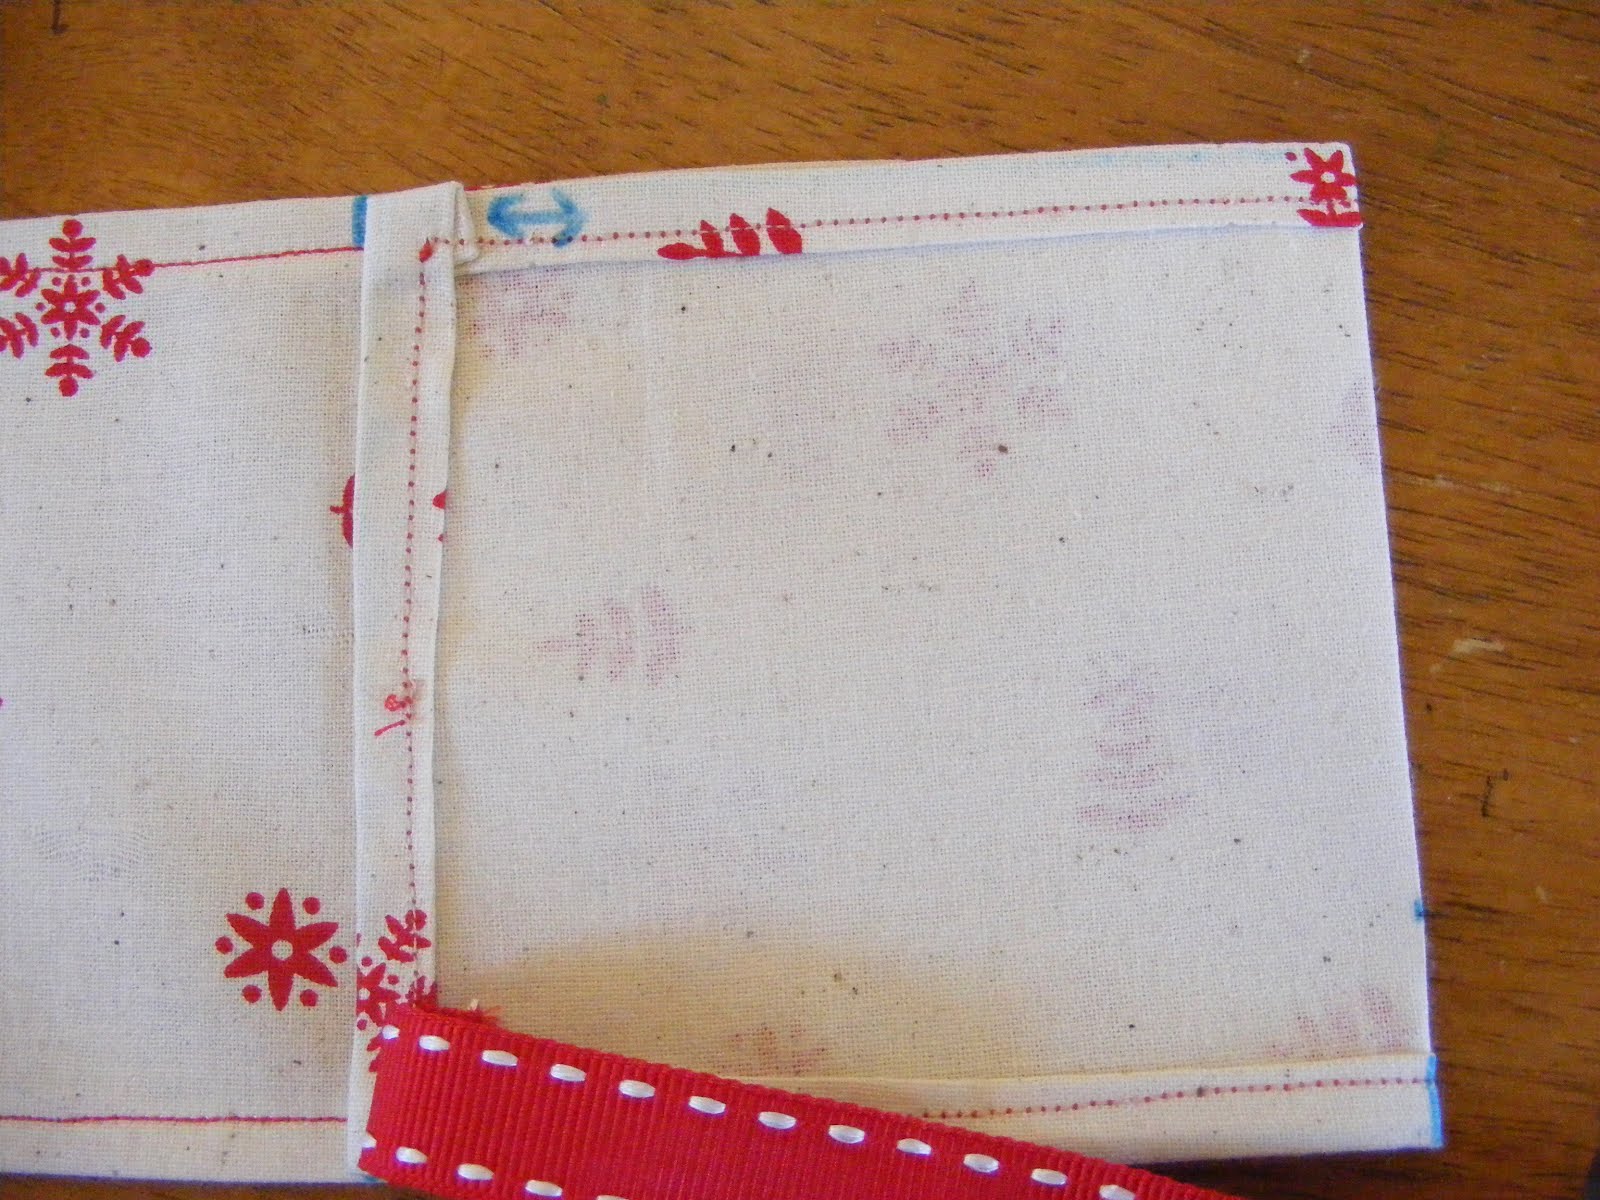
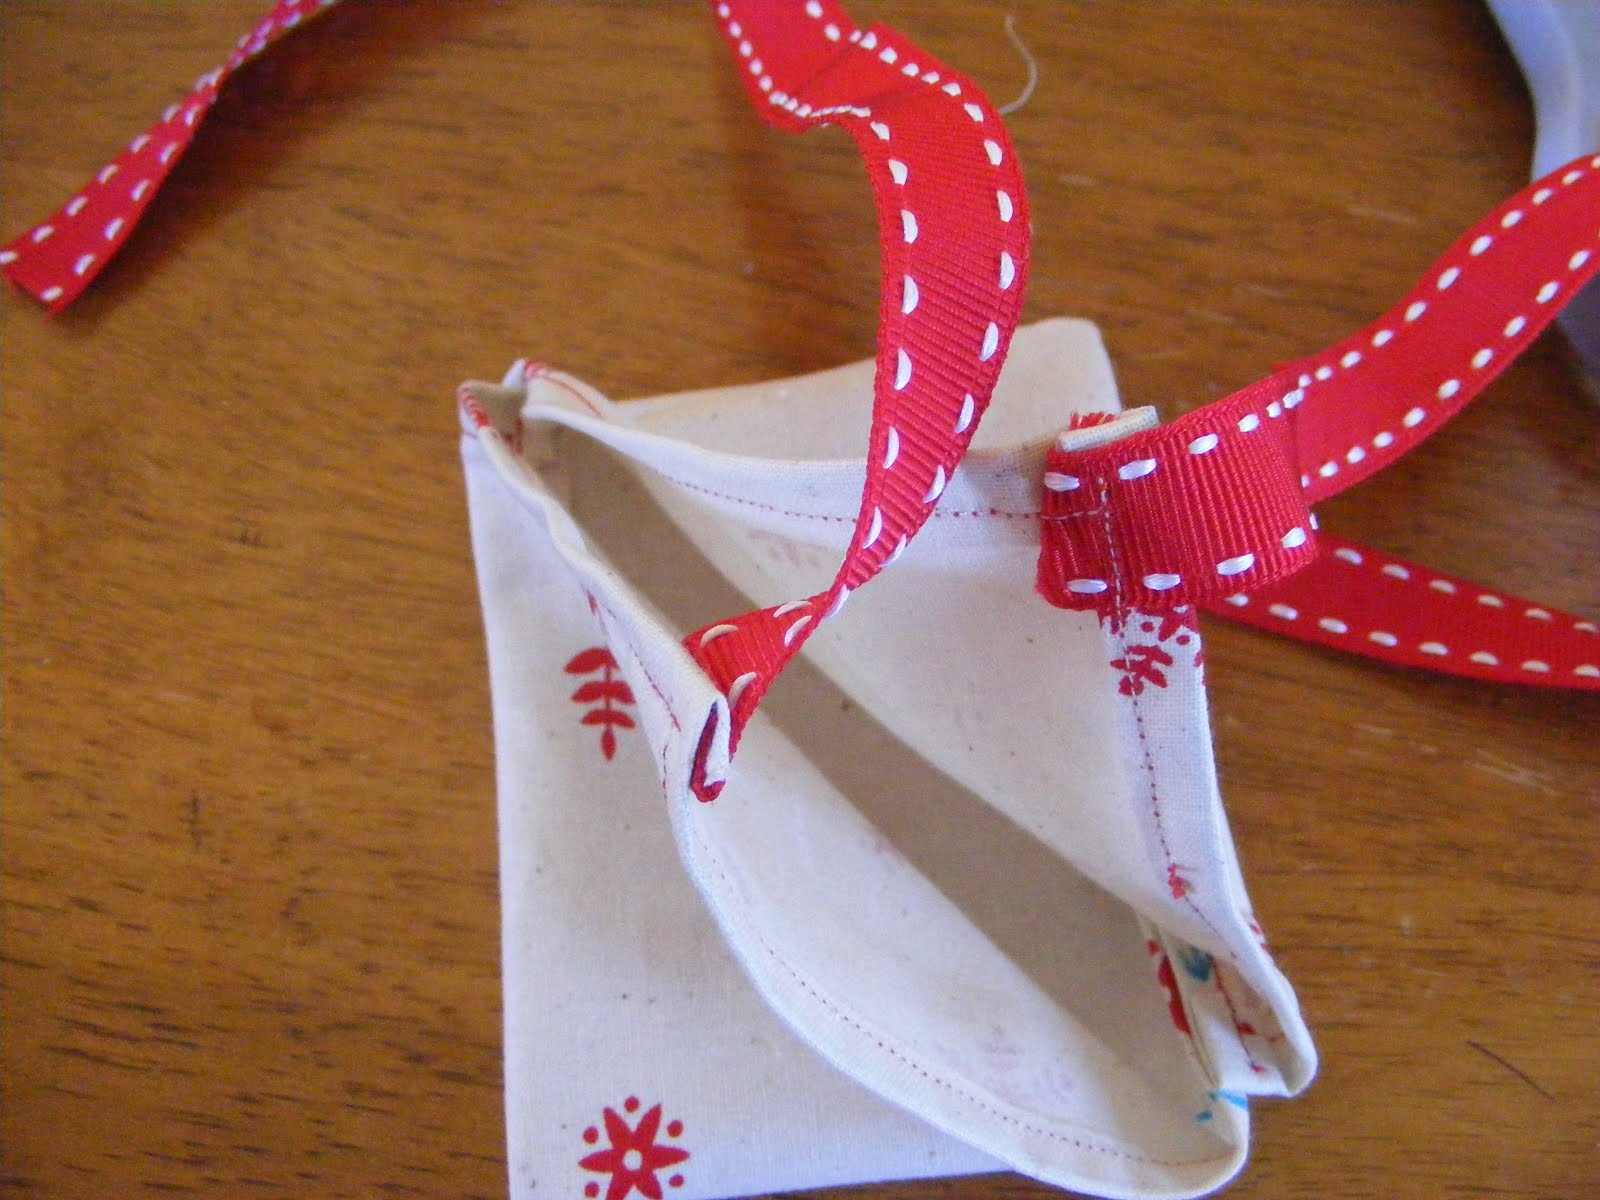
Fold one third in, right sides together and sew along one edge only (the edge marked with the double arrow, the edge without the ribbon).
Open the flap up and fold the opposite third in, right sides together and sew along one edge, on the opposite side of the first one, making sure the first flap is out of the way (sew the seam marked with the two blue lines on the following picture):

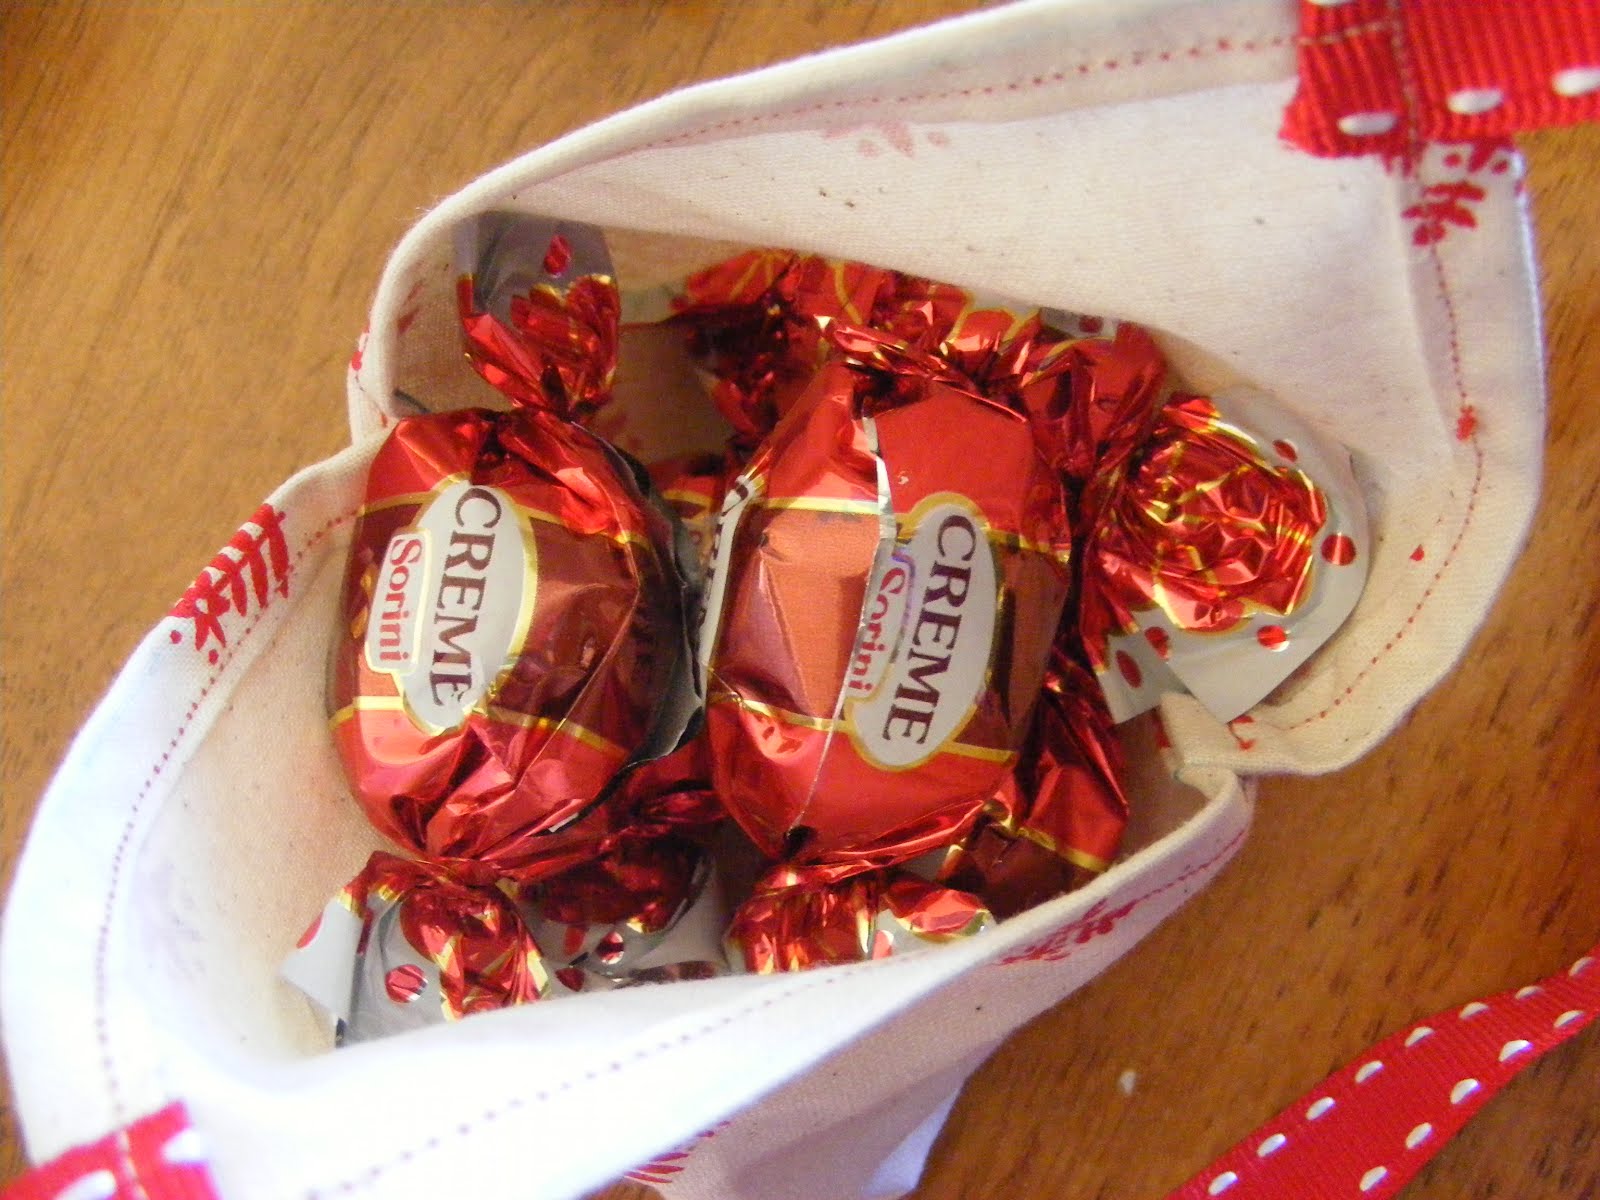
Now flip it open, turn the bag right side out and shape a bag bottom with your fingers. Fill it up and tie the flippy ends together where the ribbon strips are located. The ribbon can then be tied together for a cute finish.
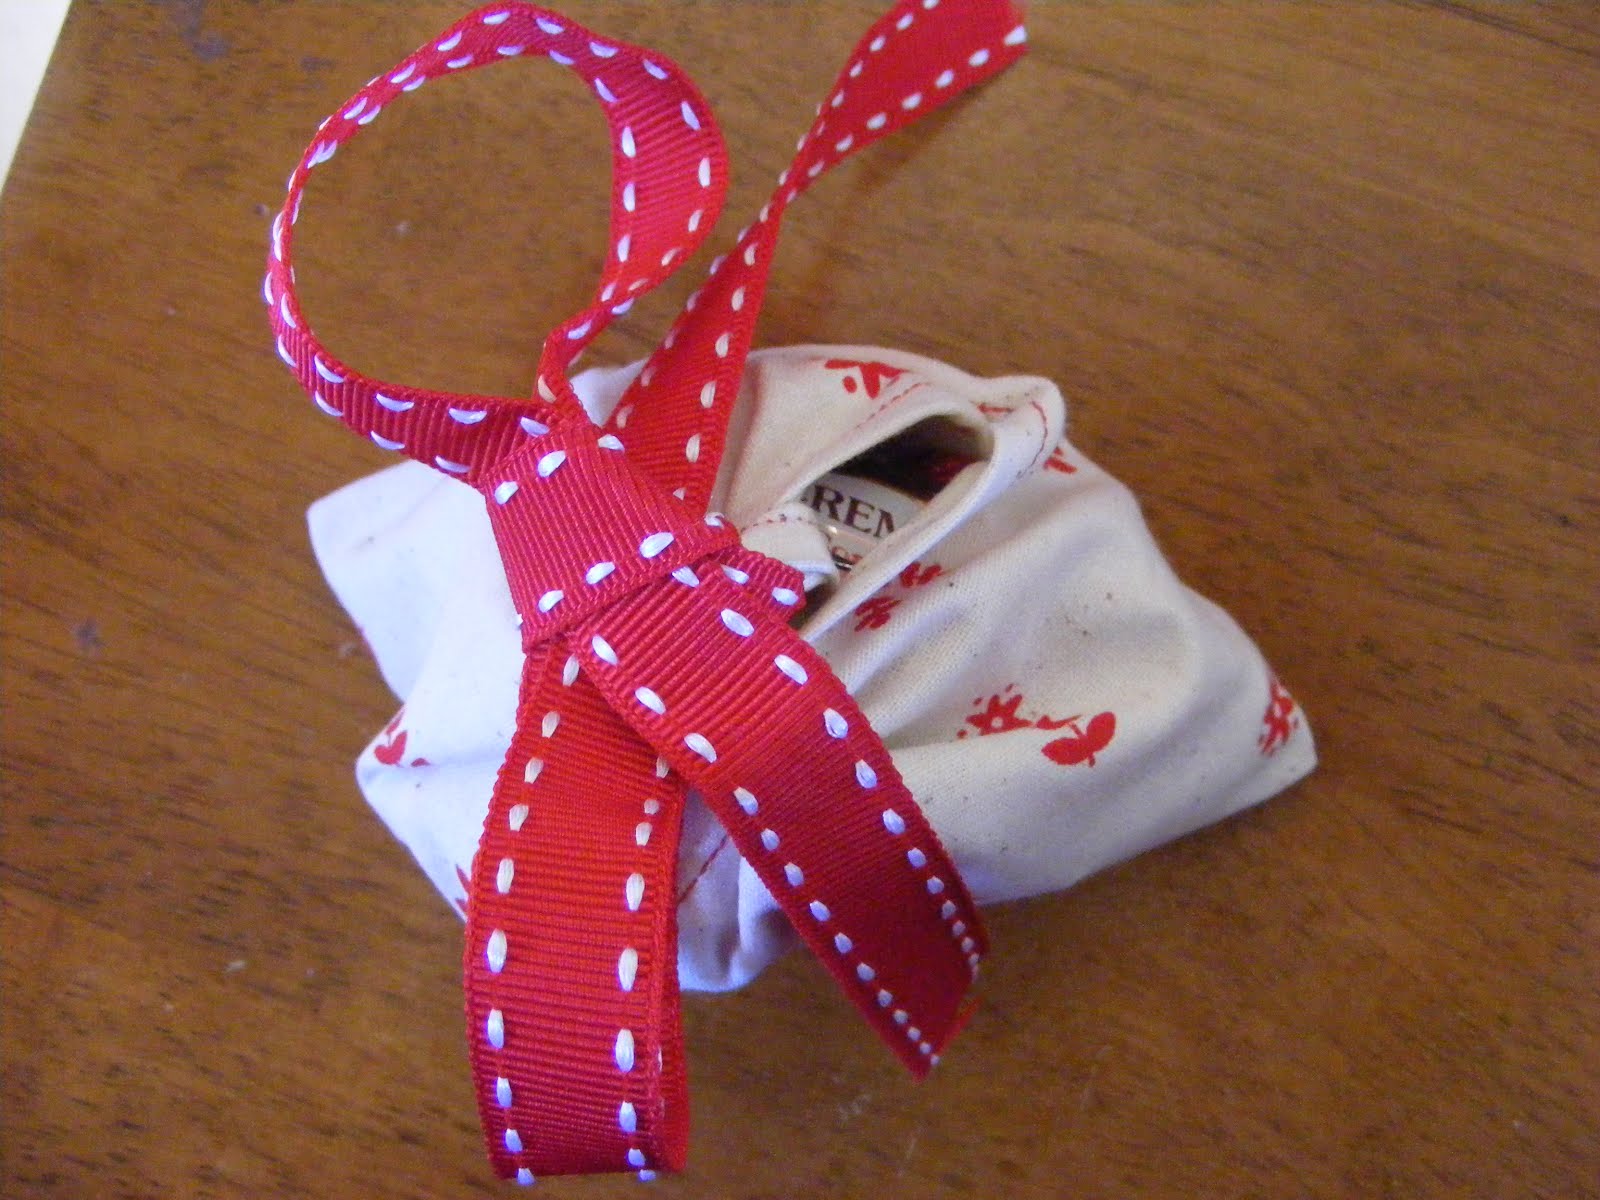
Or hang for a surprise treat:

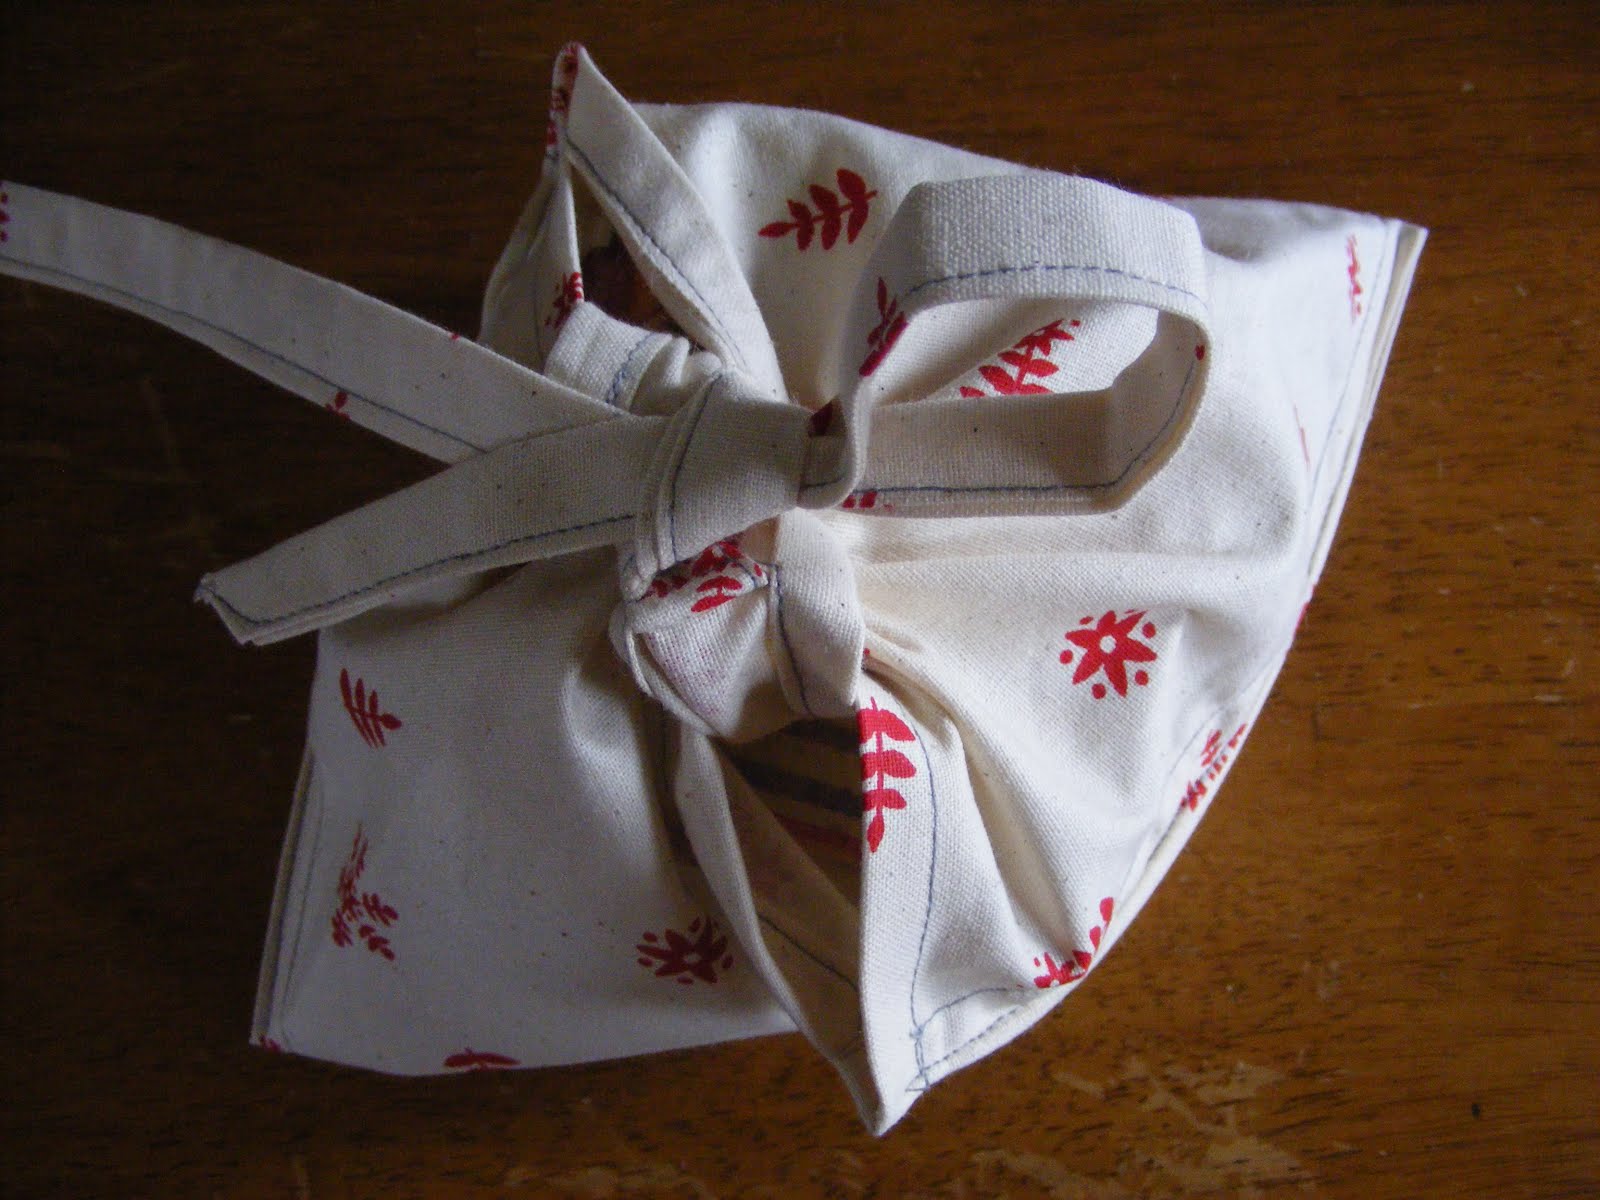
You can also sew the seams wrong sides together, or use bias tape as ties, as exemplified in this other version I made:
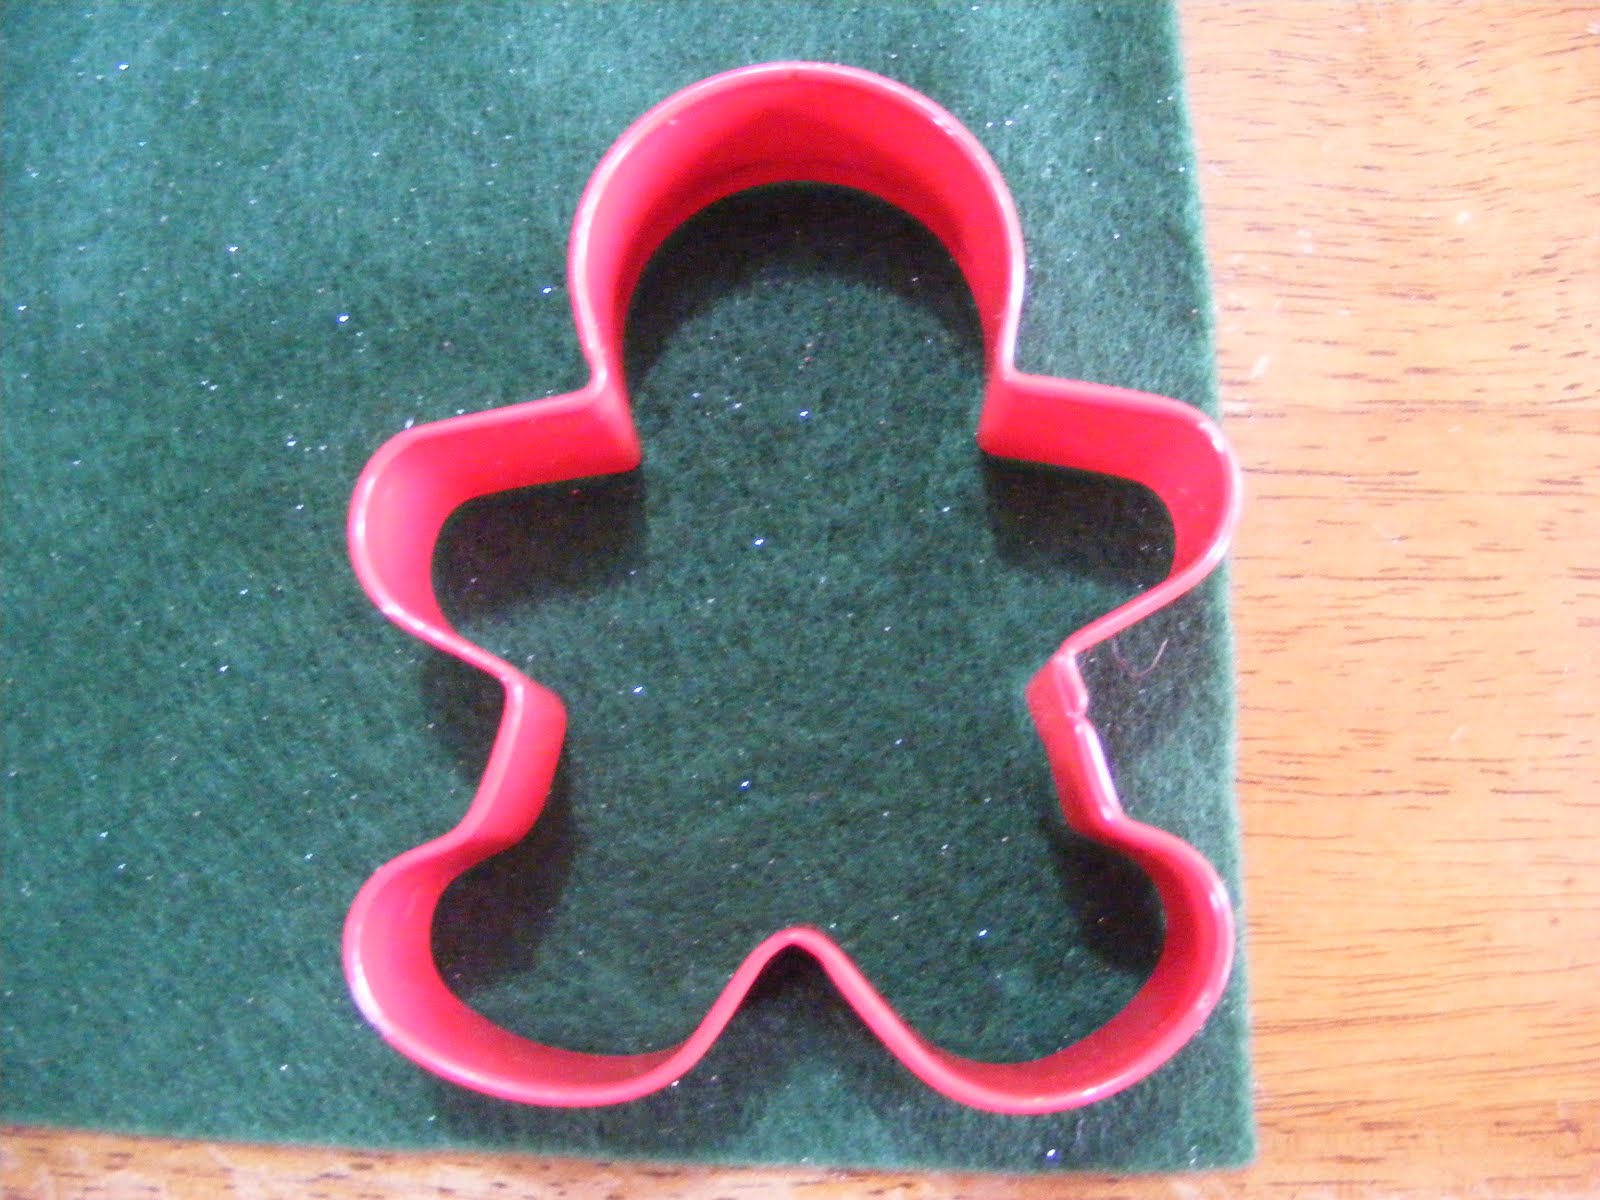
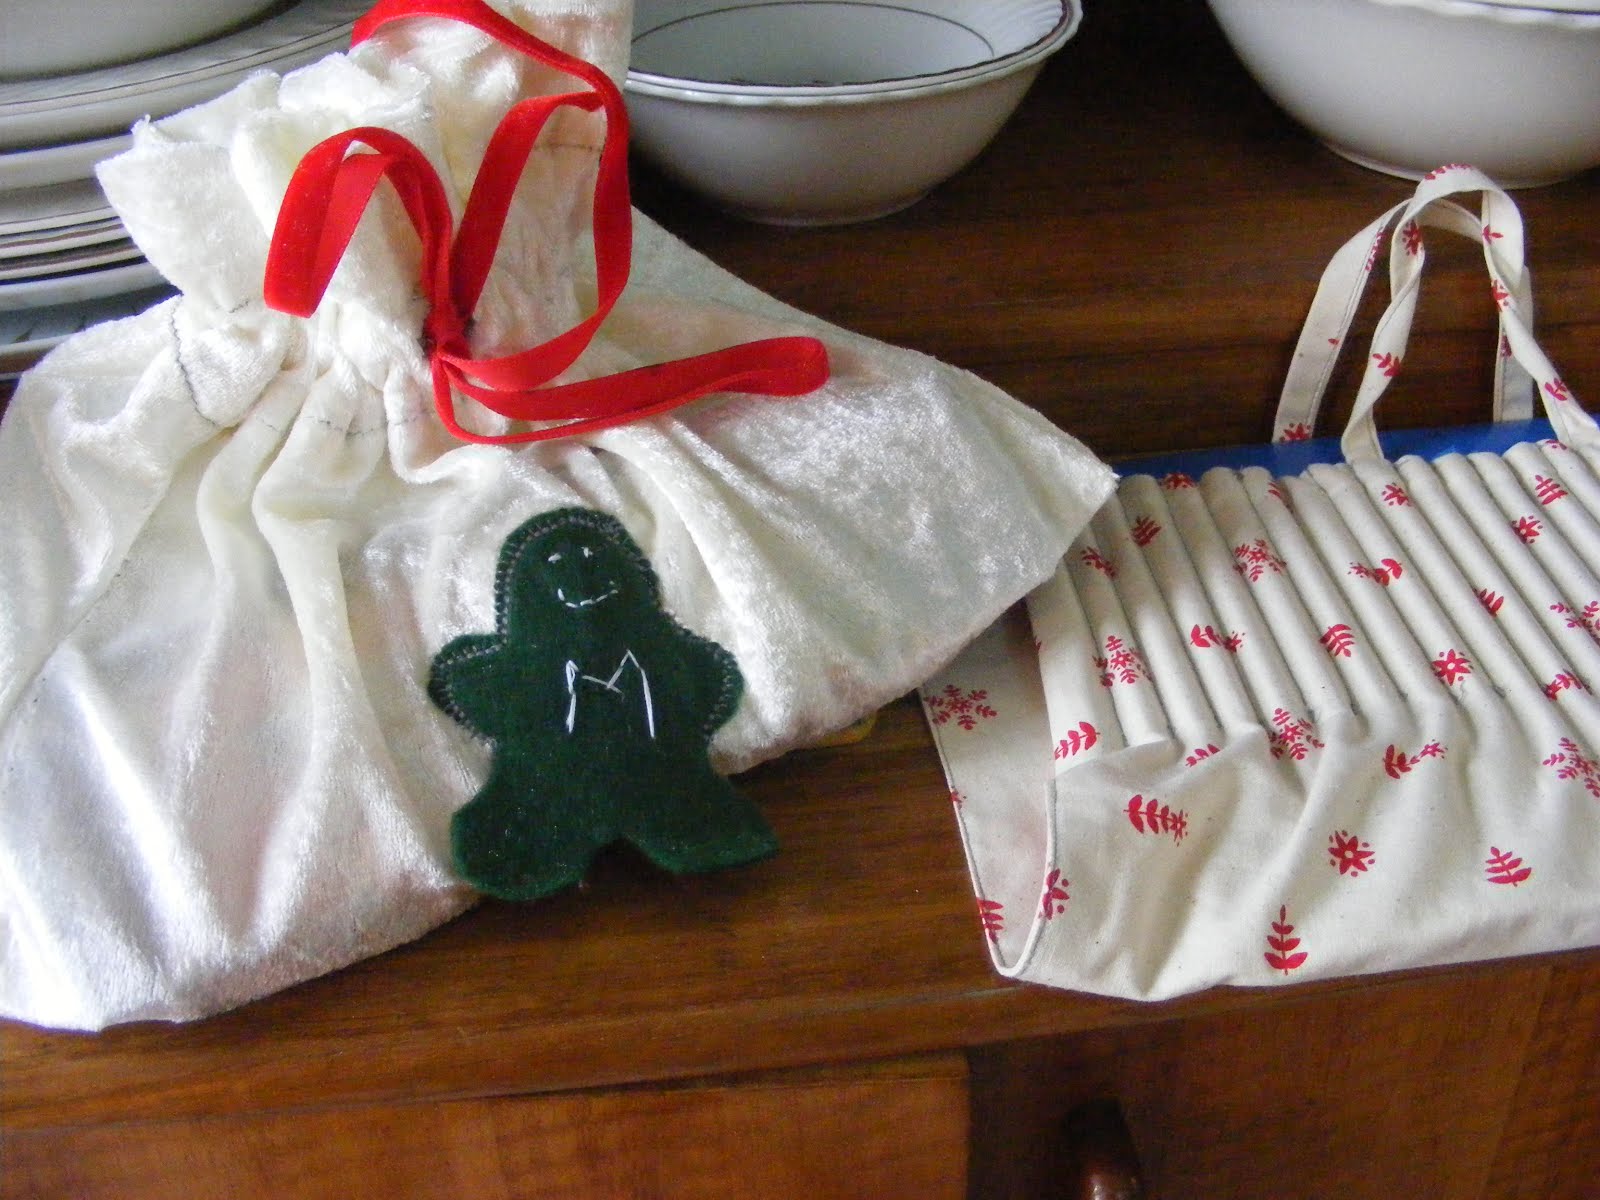
Hope you enjoy these ideas for reusable gift bags that can be used for any occasion. For extra embellishment you may make a felt tag embroidered with cotton floss, or personalise the bag to be reused by the recipient. I used a cookie cutter to trace a shape on sparkly felt:
My 8 year old daughter embroidered her friend’s initial and some face details on the felt ginger man and we attached it to one of the gift bags:
I love the Japanese inspired bag - it would be lovely with some creme eggs or mini eggs in!!
ReplyDelete