

I am going to explain the project in 3 stages, as you could really use each of these parts as a project in their own right, particularly the picnic bag/rug, which you could even do with 40” x 40” pieces of plain fabrics if you wanted, or quilted panels of your choice. The final tutorial is pretty long, so I've split it up into two parts, and you will have to wait for the second part with baited breath (What does that expression even mean?! It makes me think of a person with a whole fish hanging out of their mouth, golum style....)
Here are the things I ordered from Abakhan (not including the hessian mat that they are arranged on; I just didn’t want to put my lovely brand-new fabrics on the grass….which I now realise was ridiculous, given they were to be made into a picnic rug…shush now!):
· 2 metres of 4oz Wadding 137cm 54"
You will also need:
· White thread (I used two 250m spools!)An important note about fabric width: despite the fact I used sheeting, which was twice the usual width, I cut it in half before starting, as that width was just unmanageable. This also meant that I could write the instructions as if I was working with regular 44” wide fabric. So all cutting out instructions and references to ‘WOF’/'width of fabric' presume you are using standard 44” wide fabric.
Another point before we start: I am relatively new to foundation piecing, so I have been rather generous with my seam allowances, just to be on the safe side. However, this does mean there is a bit of wastage, particularly the blue parts of the Union Jacks (although I wouldn’t call it ‘waste’; I now have a rather tempting stack of useful-looking triangles!). If you are more confident, by all means use the pattern pieces to work out your own templates for cutting out the pieces.
Bunting quilt
It measures approximately 40” x 40”.
For this part of the project you will need:· Red fabric, 11” x WOF
· Blue fabric, 11” x WOF
· Pale blue fabric, 63” X WOF
· 10 x each bunting pattern piece (plus a few spares if you think you might make a few mistakes!)
Firstly, we are going to cut out all the necessary pieces, starting with the flags.
Take your piece of red fabric. Along the top edge, mark or snip at 10 inch intervals. Along the bottom edge, mark 5 inches in, then ever 10 inches after that, so you should end up with something like this:

This should give you 7 triangles and a small amount of scrap fabric. Repeat this with the blue and white fabric.
Now for the pale blue fabric. This is a bit trickier, as you need 3 different sizes of triangle:

1) For the first size cut two strips, 11.5” x WOF. Then cut these strips at 7.5” intervals, so you end up with 10 rectangles 11.5” x 7.5”, plus two scraps. Then cut each of these rectangles in half diagonally, to give you 20 triangles.
2) For the second size cut two strips, 14” x WOF. Then cut these strips at 5.5” intervals, until you have 10 rectangles 14” x 5.5” (there will be some left over). Then cut each of these rectangles in half diagonally, to give you 20 triangles.
3) For the third size cut one strip, 12” x WOF. Then cut this strip at 4” intervals, until you have 10 rectangles 12” x 4” (there will be some left over). Then cut each of these rectangles in half diagonally, to give you 20 triangles.
Now you are ready to start sewing! (I am going to explain this as if you are new to foundation piecing, so apologies if this sounds patronising, but I’d rather that than put off newbies by presuming we all know what we are doing!)
Take one pattern piece and place it face down, so it looks like you have a blank piece of paper in front of you. Line up a flag piece with the flag shape on the pattern piece; you may need to hold it up to the light so you can see what you are doing. There should be quite a bit of overlap all round. Take one of the pale blue triangles, size 1 and place it over the flag piece like so, lining up the raw edge on the long side:

Turn the whole lot over, so the pattern piece is facing up, and sew along the line marked ❷. Turn over again, open out and press. Again, hold the whole thing up to the light, and check that you have got enough overlap around the edge of the pattern pieces.
Now take a size 3 pale blue triangle and place this in top of the flag, lining up raw edges and pin, like this (I have a decent photo of this one!):
Turn the whole lot over, so the pattern piece is facing up, and sew along the line marked ❸. Turn over again, open out and press. Again, hold the whole thing up to the light, and check that you have got enough overlap around the edge of the pattern pieces. Nearly there!
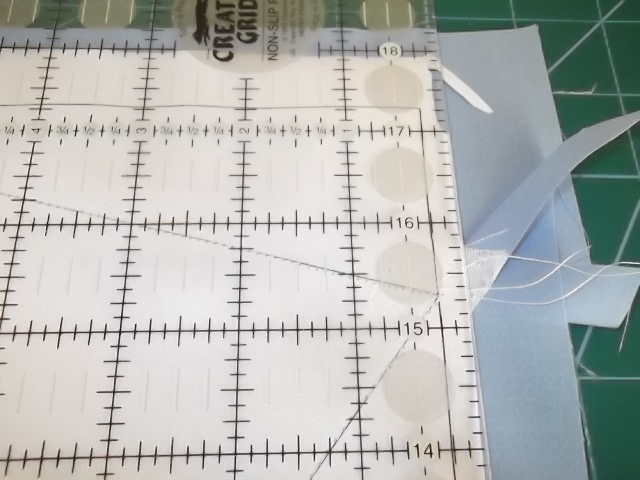
Now we are going to trim it up! Now, as I’ve already mentioned, we are going to trim with a 0.25” seam allowance around the rectangle of the pattern piece (not around the pattern piece itself, ie. not the edge of the paper). In some cases, the edge of the paper is 0.25” away from the rectangle (like in the photo below), but this isn’t the case all round, so be careful!
That’s one flag finished! Yay! It should look like this:

A word on making it quicker and more painless – you may decide to do things in batches, e.g. pin all the flags and pale blue size 1 to the pattern pieces and sew these all at once, then pin all the size 2 pieces on and sew them, etc, and I have to say this makes things a lot faster…which I only discovered on my last row. Ho hum!

So to return to my example:

I used 3 red flags with their bottom points to the left, and 4 red flags with their bottom points to the right. But this means 3 pattern pieces with their bottom point to the right, and 4 pattern pieces with their bottom point to the left. Hope that makes sense!
Once you have your 20 flags, using a 0.25” seam allowance, sew them together in rows of 5, then sew your 4 rows together, pressing as you go.
Et voila – that’s the first stage of the project done!
Be sure to pop back to see the finished bag and read about how to finish off the project!
This comment has been removed by the author.
ReplyDeleteGreat project Lynne
ReplyDelete(now I spelled you name right!)
I love Libby`s bunting - very cute. Look forward to seeing how the picnic blanket unfolds...see what I did there?
ReplyDeleteThis is beautiful. You are very talented.
ReplyDeletehttp://sewmuchtosay.blogspot.com
This is a great tutorial!
ReplyDeleteHey Libby this is a great little project and a great tutorial! I know how hard you have worked on it and it has clearly taken you ages...you have done a great job and I can't wait to see the finished product :-) xxx
ReplyDeleteFabulous so far!!
ReplyDeleteThat looks great so far! A very cool pattern to go with =D
ReplyDelete