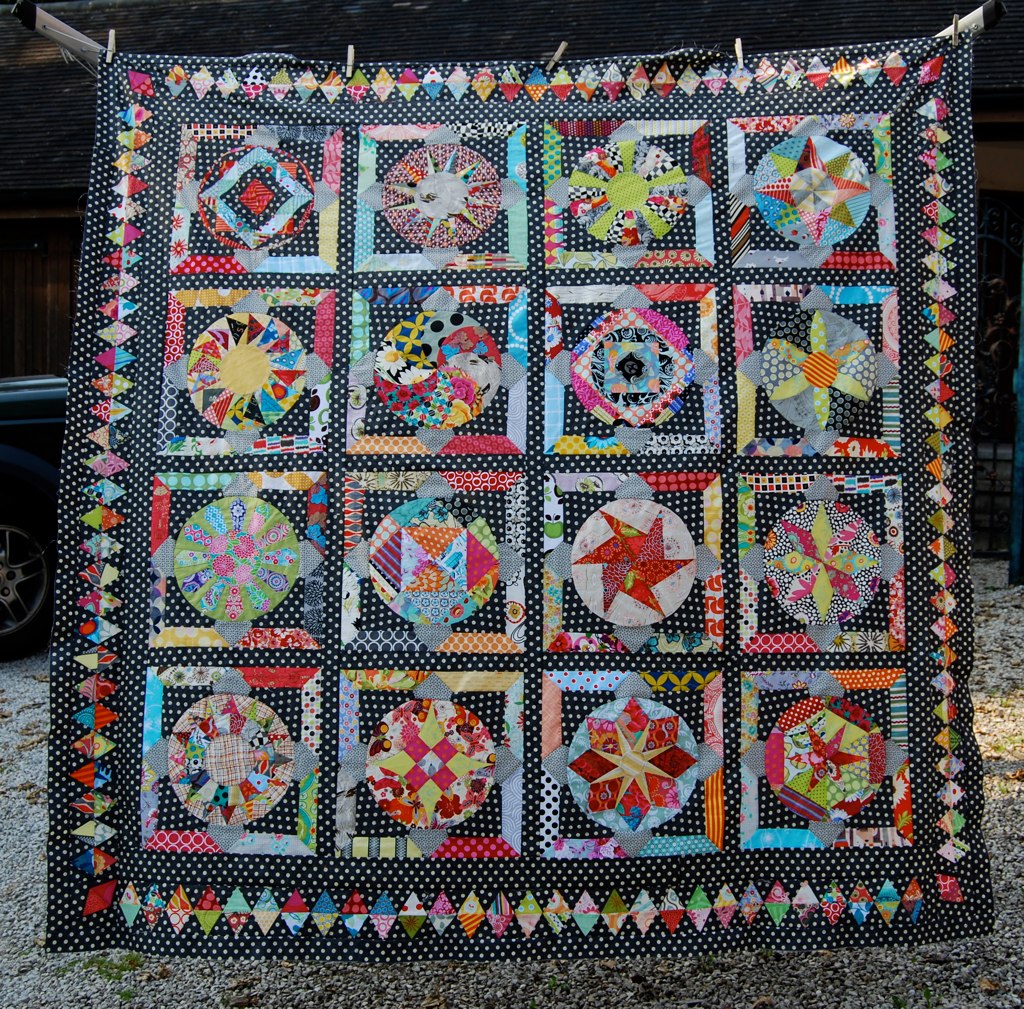
I added a diamond border to my Circle Game Quilt and thought you might like a quick tutorial to show you how it was done.
I am cutting equilateral triangles using my Baby Go Cutter and the equilateral triangle die. If you do not have a Go Cutter, you can print out the incompetech equilateral triangle paper onto freezer paper to make templates you can iron to your fabrics and cut around or use a ruler which gives you equilateral triangles.
1. I made this border scrappy with a charcoal dot background. Firstly grab a whole pile of scraps and some background yardage. I did not pre-calculate the number of triangles needed (although to give you a rough idea, on a quilt finishing about 80" squares, I cut about 250 scrappy and 250 background triangles). What I did was to make lots and lots and then, once I had a decent length of border, measured it against the quilt to see how many diamonds I would need per side.
2. Run the background yardage and the scraps through the cutter to give a whole pile of triangles.
3. Join those triangles into pairs - one scrappy and one background. Chain piece as you go to make the whole process much quicker.
4. Press the fabric towards the background fabric if it is generally darker than the scraps and towards the scrappy fabric if the background fabric is generally lighter than the scraps. If you have cut these on the Baby Go you will not need to trim the corners off as they are already pre-trimmed but trim if not.
6. Join each of those diamonds into pairs of diamonds taking care to line up the corners of the diamonds which I do by sticking a pin through the corner on each diamond, then removing the pin and holding those points together as I lay the two pieces down on the sewing machine. Leave four diamonds unsewn in case the borders of your quilt require an uneven number of diamonds.
7. Sew several pairs of diamonds together into fours, then eights. At this point you can measure the length of the diamond border, compare it to the length of the side of your quilt and calculate how many diamonds are needed per side and then start working towards making four lengths of border of that many diamonds.
8. For my corners, I first added 2 1/2" strips of backing fabric to the end of the run of 29 diamonds and trimmed those straight and square to bring the border to the exact length of the side of the quilt.
9. I then made corner squares making a red diamond, adding 4" strips around it then trimming it square with the diamond aligned along the 45 degree angle on my mat.
10. Sew these corners to the ends of two of the lengths of the border. Attach the shorter lengths of border on two opposite sides then the longer lengths and VOILA, you have a diamond quilt border.
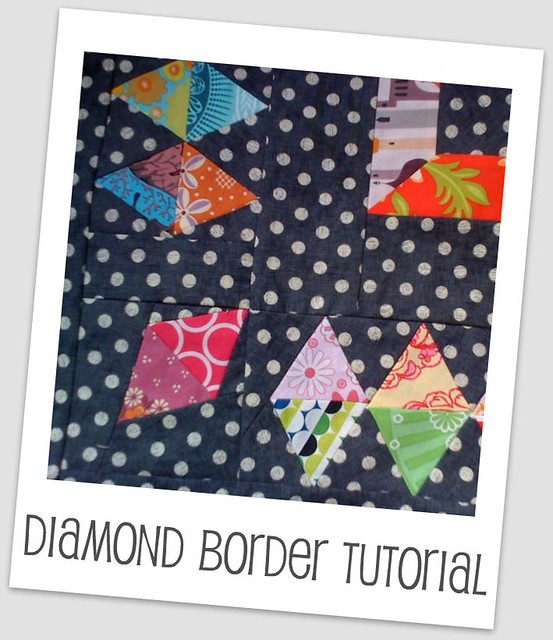
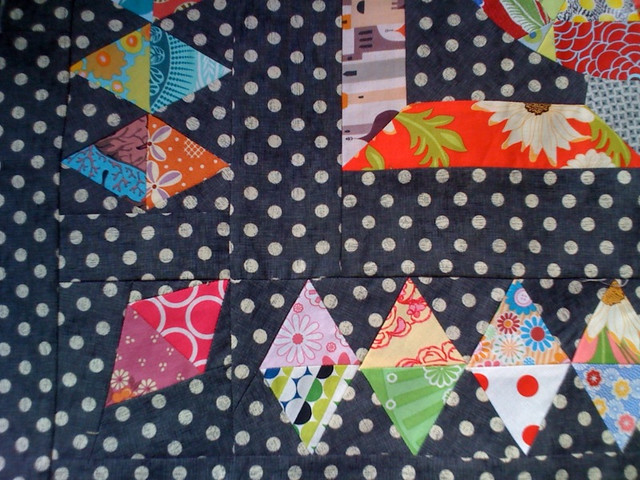
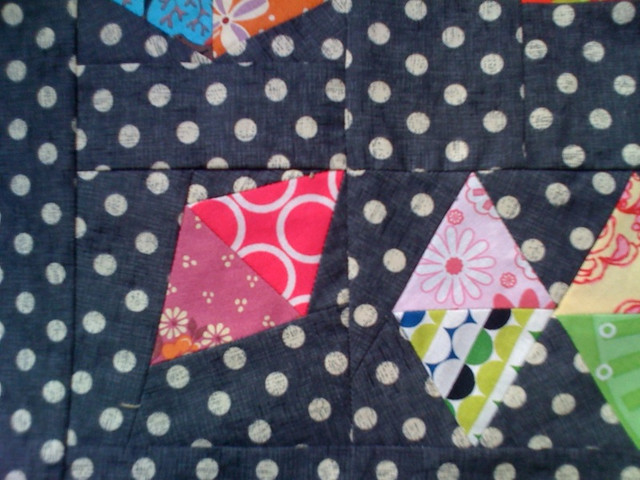
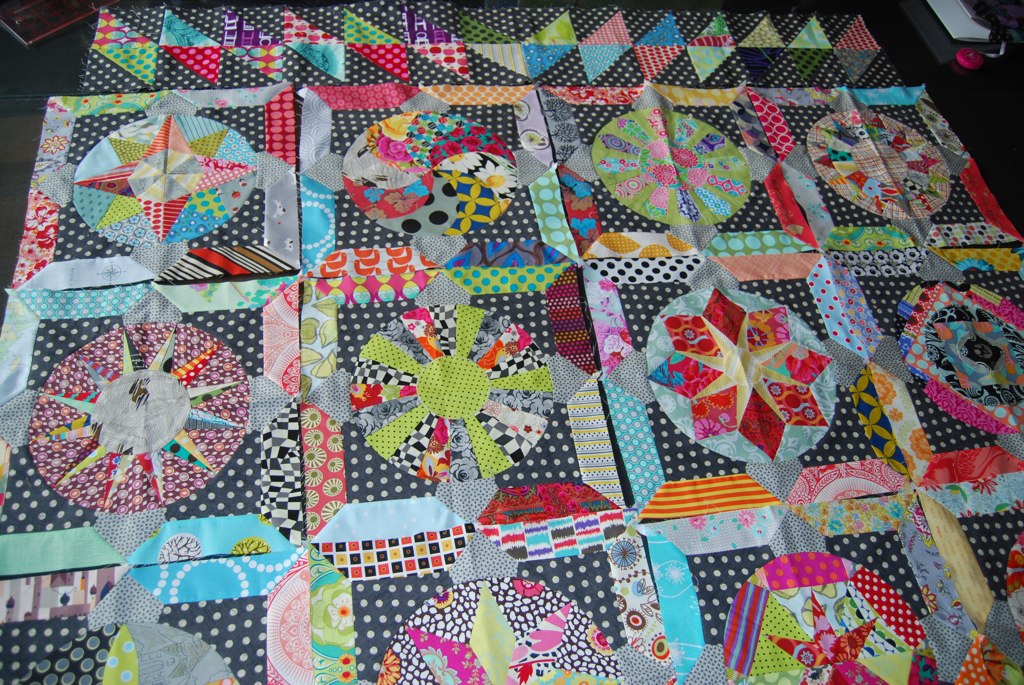
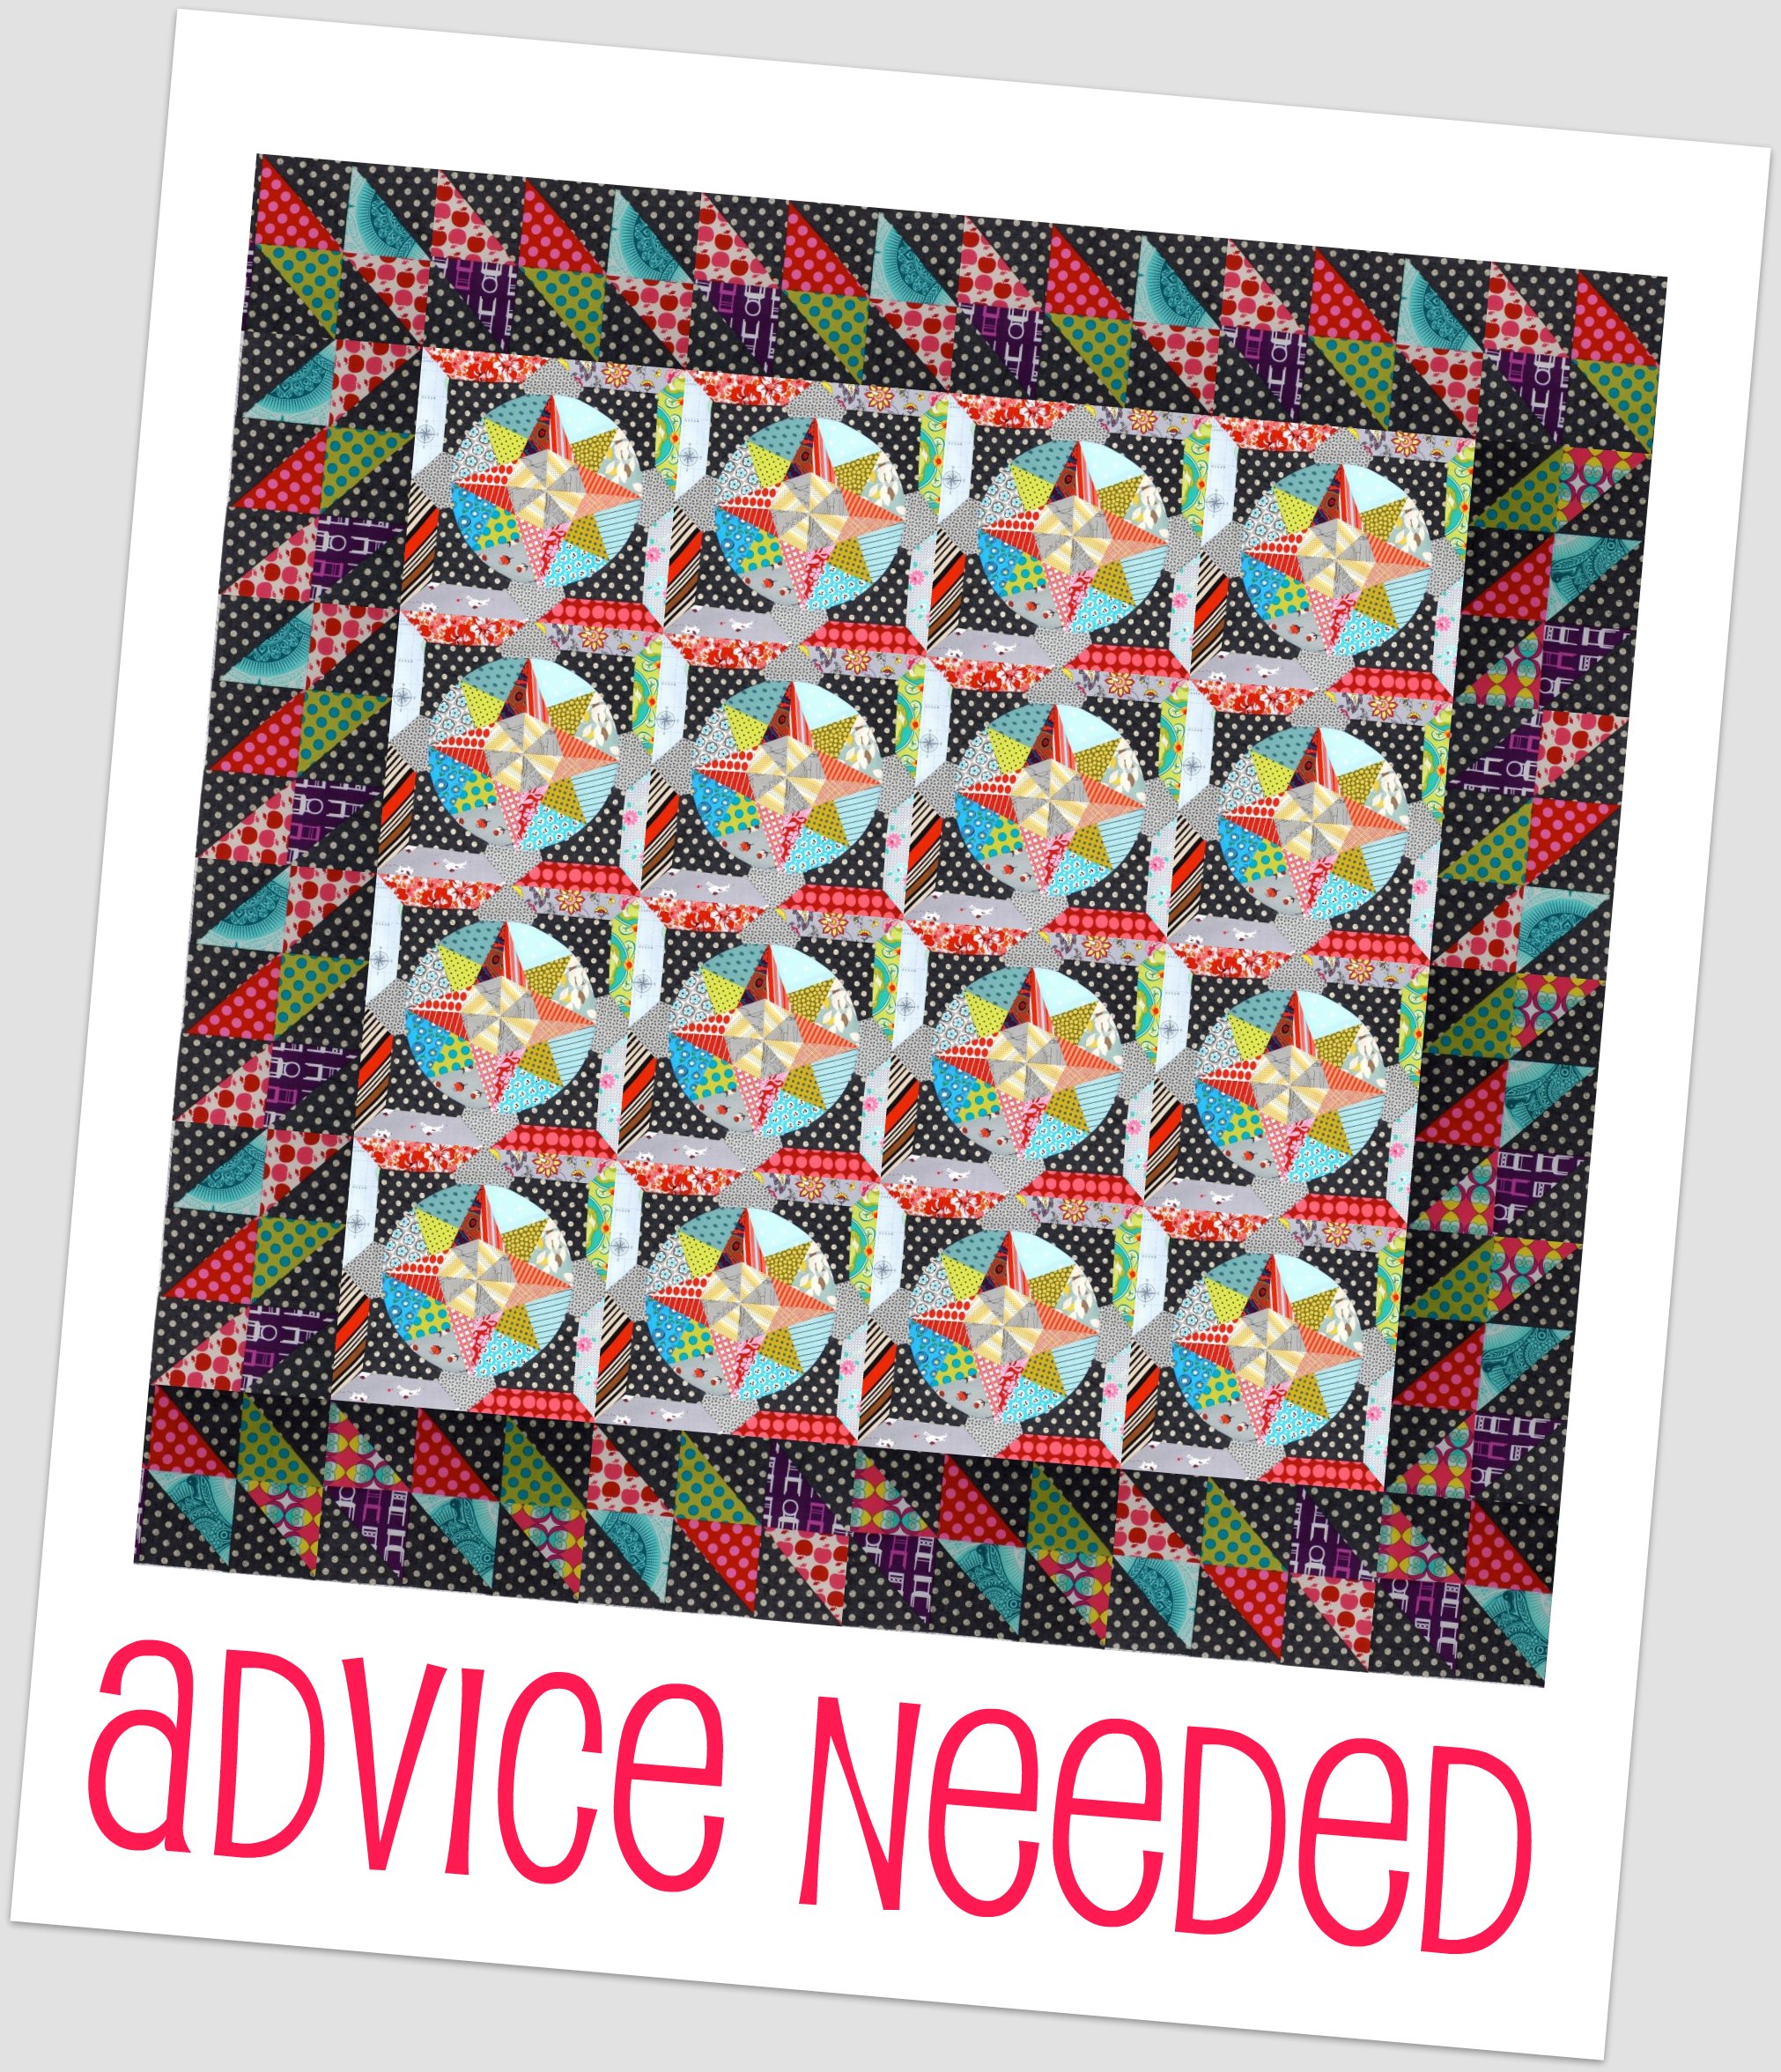
I also made a trial border for this quilt using exactly the same method but using the Baby Go Cutter 4" HST die. I love the big chunky border but did not feel it fit well with the scale of the quilt and so went with the smaller diamonds. You can see a section of that border laid up against the blocks here.
I am cutting equilateral triangles using my Baby Go Cutter and the equilateral triangle die. If you do not have a Go Cutter, you can print out the incompetech equilateral triangle paper onto freezer paper to make templates you can iron to your fabrics and cut around or use a ruler which gives you equilateral triangles.
1. I made this border scrappy with a charcoal dot background. Firstly grab a whole pile of scraps and some background yardage. I did not pre-calculate the number of triangles needed (although to give you a rough idea, on a quilt finishing about 80" squares, I cut about 250 scrappy and 250 background triangles). What I did was to make lots and lots and then, once I had a decent length of border, measured it against the quilt to see how many diamonds I would need per side.
2. Run the background yardage and the scraps through the cutter to give a whole pile of triangles.
3. Join those triangles into pairs - one scrappy and one background. Chain piece as you go to make the whole process much quicker.
4. Press the fabric towards the background fabric if it is generally darker than the scraps and towards the scrappy fabric if the background fabric is generally lighter than the scraps. If you have cut these on the Baby Go you will not need to trim the corners off as they are already pre-trimmed but trim if not.
5. Now join each of those pairs together to make a diamond with two pieces of background on the end.
6. Join each of those diamonds into pairs of diamonds taking care to line up the corners of the diamonds which I do by sticking a pin through the corner on each diamond, then removing the pin and holding those points together as I lay the two pieces down on the sewing machine. Leave four diamonds unsewn in case the borders of your quilt require an uneven number of diamonds.
7. Sew several pairs of diamonds together into fours, then eights. At this point you can measure the length of the diamond border, compare it to the length of the side of your quilt and calculate how many diamonds are needed per side and then start working towards making four lengths of border of that many diamonds.
8. For my corners, I first added 2 1/2" strips of backing fabric to the end of the run of 29 diamonds and trimmed those straight and square to bring the border to the exact length of the side of the quilt.
9. I then made corner squares making a red diamond, adding 4" strips around it then trimming it square with the diamond aligned along the 45 degree angle on my mat.
10. Sew these corners to the ends of two of the lengths of the border. Attach the shorter lengths of border on two opposite sides then the longer lengths and VOILA, you have a diamond quilt border.
I also made a trial border for this quilt using exactly the same method but using the Baby Go Cutter 4" HST die. I love the big chunky border but did not feel it fit well with the scale of the quilt and so went with the smaller diamonds. You can see a section of that border laid up against the blocks here.
and a mock-up of the quilt with that border here:



I agree with using the smaller triangles. The proportions are much better. And may I add its an fantastic quilt. The dotted background just makes the colors pop.
ReplyDeleteCertainly looks stunning!
ReplyDeleteI love this quilt. The border looks amazing, but sew much work! Not sure I've got the patience.....one day :)
ReplyDeleteThis worked out brilliantly - you have a lot of patience doing a pieced border like this
ReplyDeleteLove the triangle border! Thanks for sharing the tutorial...
ReplyDeleteNice tute! I especially like the corner blocks
ReplyDeleteThis quilt is just amazing! I love the smaller triangles, I think they frame it nicely. Just beautiful!
ReplyDeleteThank you, thank you, thank you! When I asked for a Go cutter for Christmas this is just the kind of thing I wanted it for. Your quilt is just amazing, and I will so use variations on this border! How generous of you to share it.
ReplyDeleteI love those blocks. Such a colorful quilt! And I agree with other commenters, I like the smaller ones better.
ReplyDeleteHow did you get so smart?
ReplyDeleteVery nice. Thanks for sharing.
ReplyDeleteJust found you thru' Tonya at Hillbilly Handiworks! I am now following you! You have a delightful blog! Thanks for sharing!
ReplyDeleteI love my Accuquilt Go! I have the equilateral triangle die and love it. I am using it to make my Crangles quilt http://craizeecorner.blogspot.com/2011/07/crayons-and-triangles-crangles.html
ReplyDeleteWow, I just found you! The colors! The TUTORIALS! Love it.
ReplyDeleteThat is a very very ace Quilt :)
ReplyDeleteWow stunning quilt, I love the spotty background.
ReplyDeleteI am your newest follower. Love your blog and your quilting is fabulous. I'm just getting ready to add borders to a table runner and would love the diamond border, but I'm not sure if I have enough time to do it! This is a county fair project and I only have a few more days to get things done. We'll see. Well you are fabulous, very inspiring. Please come visit me at my new blog, Ric Rac and Polka Dots. I'm brand new, but have lots of really fun projects I'll be sharing with everyone once fair is over and once I have the garden all harvested and frozen and canned!!!! :) I hope to see you there.
ReplyDeleteJulie
Thank you for this! It's absolutely amazing how the design unfolds with just a simple triangle and the juxtaposition of background fabric and scraps.
ReplyDeleteMost definitely the smaller triangle border.
ReplyDeleteThis is the first time to your blog and I love this quilt. The polka dot background makes all the color pop. The smaller triangle border is my favorite. Thanks for a great tutorial too.
ReplyDeleteWow - This quilt is amazing. I want to make quilts like this. I just love it. I'm glad I found your blog.
ReplyDelete